This tutorial enables developers to onboard with the latest app development experience for Freshworks App Developers. The content outline for the tutorial is as follows
- App development experience with Freddy Copilot for Developers
- Overview
- Introduction to Freddy Copilot for Developers
- Getting started
- Developer signup
- Product Account signup
- Freshworks CLI Setup
- Installation and Configuration guide
- Features and Usage guide
- FAQs
- Building apps with Freddy Copilot for Developers
- Troubleshooting guide
- What's next
What is Freddy Copilot for Developers?
Freddy Copilot for Developers is a Generative AI-powered development experience tool that allows quicker and more intuitive app development. Stretching across the Freshworks app development journey, it integrates seamlessly with Visual Studio code and can suggest code snippets through conversational messages.
It is a powerful VS Code extension designed to help developers streamline their Freshworks application development process. With Freddy Copilot for Developers, developers can perform operations such as
- Learn app development via Chat-based tutorials
- Rapid code generation
- Perform 1-Click actions such as
- 1-Click Review
- 1-Click Documentation
- 1-Click Publish
What's New in Freddy Copilot - Use Case to Code Integration!
We're excited to introduce the latest enhancement to Freddy Copilot, your trusted companion for simplifying Freshworks app development within Visual Studio Code. In this update, we're thrilled to unveil a groundbreaking feature: "Use Case to Code Integration."
What is Use Case to Code Integration?
Imagine a scenario where you have a concept or a requirement in mind for a Freshworks app, but you're not quite sure how to translate it into code. That's where our Use Case to Code Integration steps in!
Simply describe your use case or requirement in plain language, and Freddy Copilot will intelligently analyze your input and generate the corresponding Freshworks app code for you.
Why Use Case to Code Integration Matters:
- Efficiency
- Accessibility
- Empowerment
- Accelerated Innovation
- Seamless Integration
Detailed feature list
Freddy Copilot for Developers supports a variety of features and here is a quick list of all the supported items
- Conversational interface for chat - Text-based code generation via the chat interface
- Refactoring code: It can analyze the code selection and suggest improvements to make it more efficient, readable, and maintainable.
- Explaining code: It can document the code selection and provide detailed explanations for complex code sections.
- Optimising code: It can optimize the code selection for better performance and faster load times. This can include optimizing images, reducing file sizes, and implementing caching techniques.
- Writing documentation: It can create documentation for the app, including user guides, developer guides, and API documentation.
- Create App: Create an FDK app using the app starter template
- Run App: Run the app right from your VSCode by right-clicking anywhere in the text editor and selecting "Run App"
- Pack and Publish App: Pack the app zip and publish to AMP without leaving your IDE
- Perform security check: For code selected by user, they can perform security check to see if the selection has any security vulnerabilities
- Generate unit tests: Write unit test cases for the selection
Freshworks Developer Platform is comprehensive and supports variety of feature and tools to simplify the app development experience.
- To kick things off, you would first need to create a Developer Account
- Within the Dev Account, Sign up for a free trial account with a Freshworks product of your choice.
- Install the Freshworks CLI, aka FDK as pre-requisite for local app development
- Install and configure Freddy Copilot for Developers, and start building Freshworks Applications.
Proceed with these items by following the instructions given in the next steps
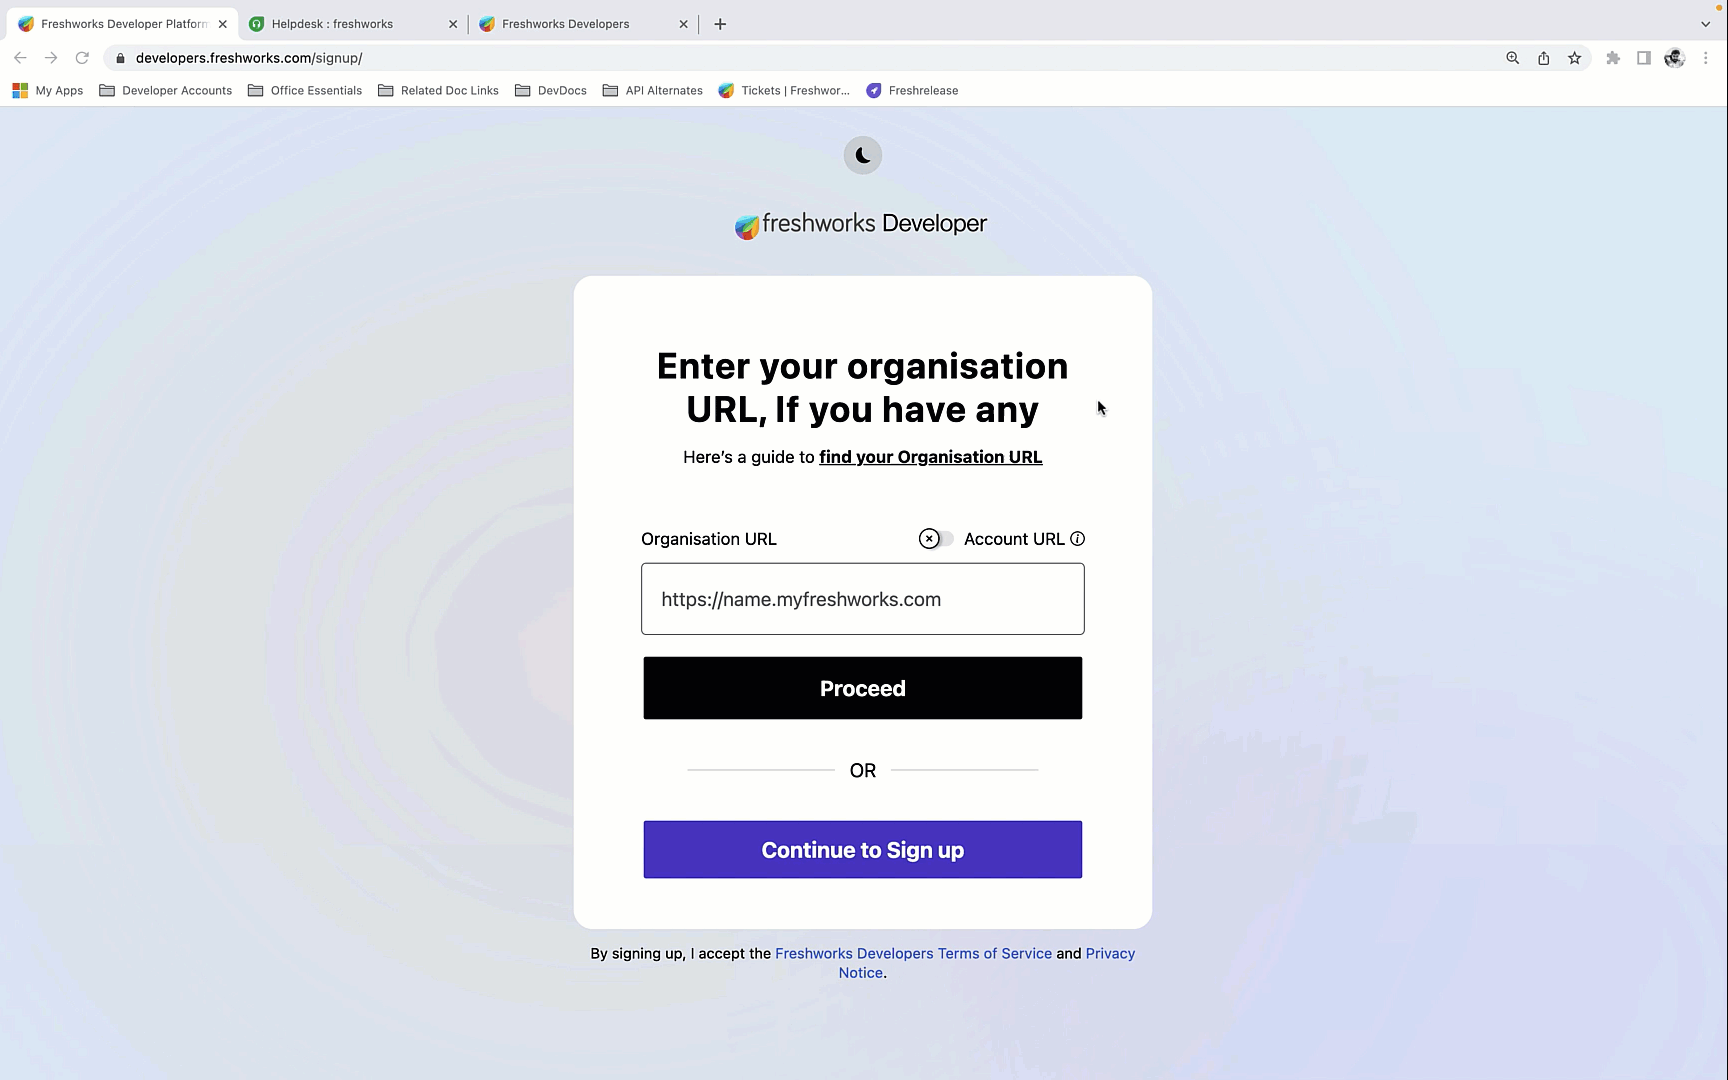
- Navigate to the Developer Platform landing page.
- Click on Sign up
- Select one of the following options as per applicability
- Organization URL for existing organizations of type https://{name}.myfreshworks.com. For example - https://tgs-xxxxxxxxxxxxxxxx.myfreshworks.com
- Account URL for Accounts of type https://{name}.freshdesk.com. For example - https://paidappsdemo.freshdesk.com
- Use the Signup option if using Freshworks products for the first time.
- Choose either of the following options
- Sign up using Gmail
- Sign up by providing credentials manually
- Verify the email address when signing up
- Complete the signup process to log in to the Application Management Portal (AMP). The URI for the same would be of type https://tgs-xxxxxxxxxxxxxxxx.myfreshworks.com/developer
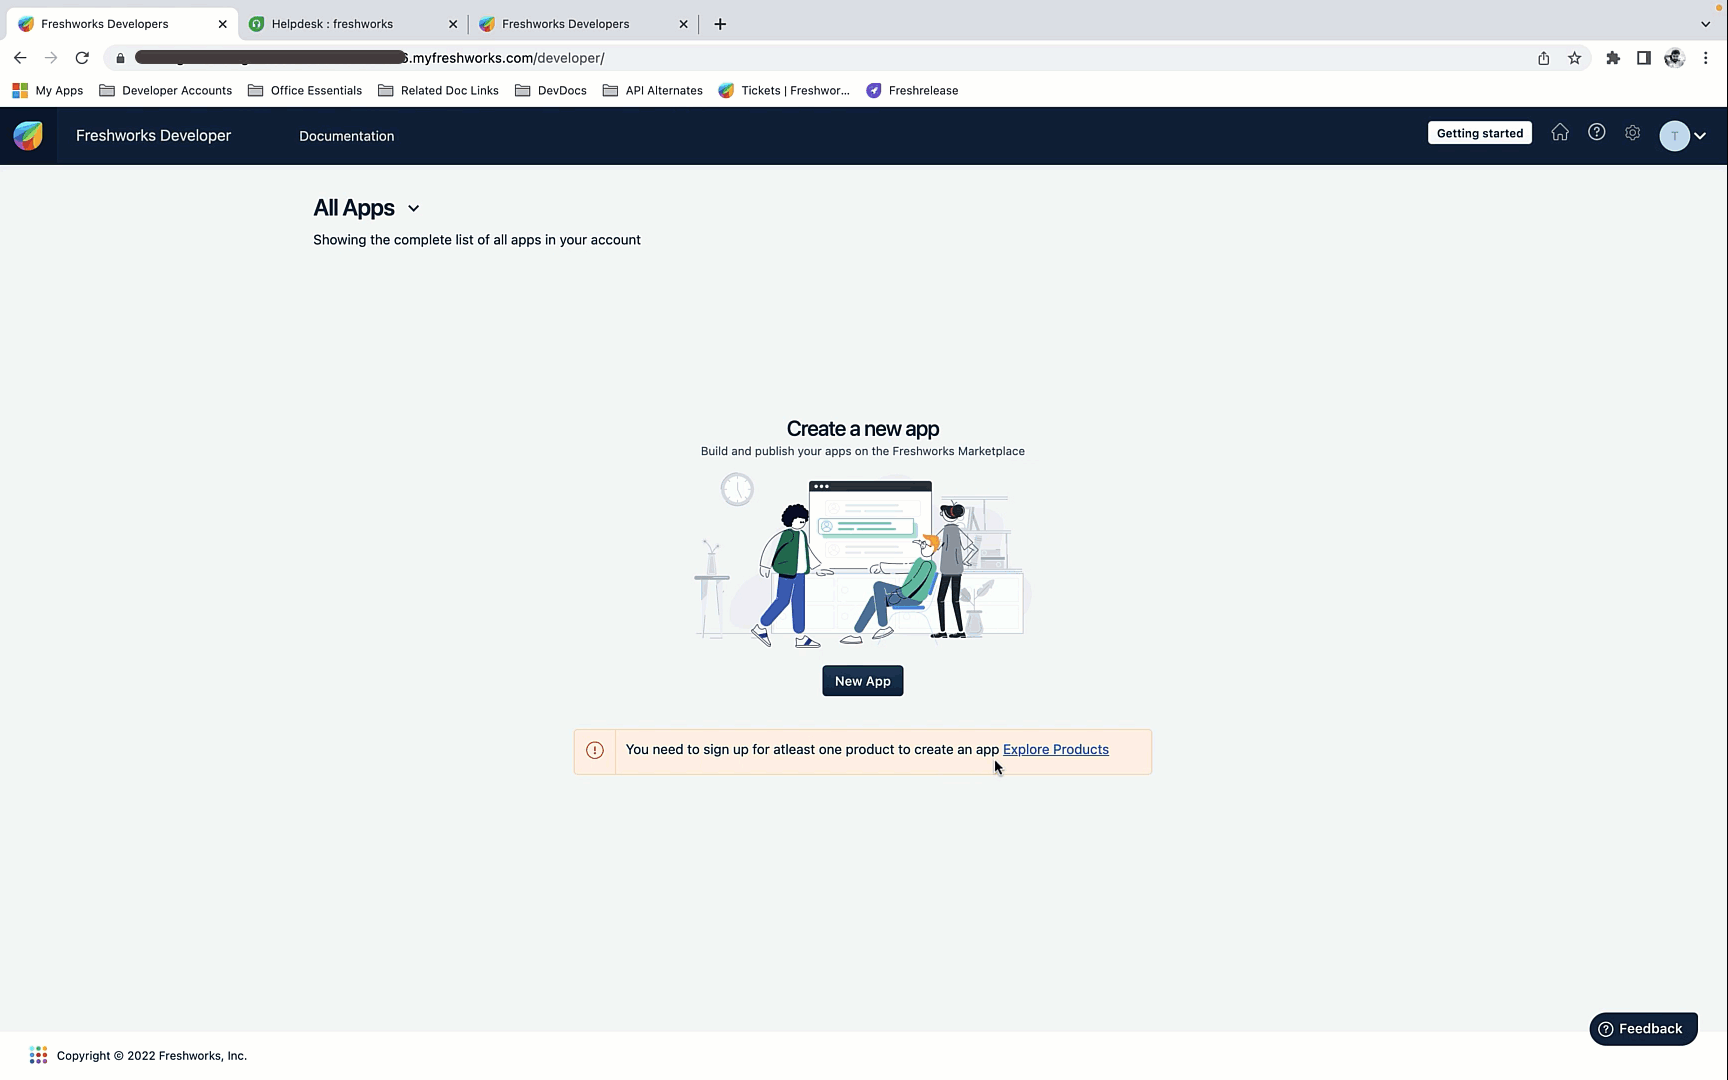
For first-time users
- Navigate Developer Account created in the previous step, it would be similar to https://tgs-xxxxxxxxxxxxxxxx.myfreshworks.com/developer
- The first-time users will be shown a warning message "You need to sign up for at least one product to build the app" with a link to explore products
- Click on Explore products and select the product of interest and click on Signup option
- Fill in the organization name and click on "Start Free Trial", and complete the signup process.
For existing users
- Navigate Developer Account created in the previous step, which would be similar to https://tgs-xxxxxxxxxxxxxxxx.myfreshworks.com/developer, or navigate to the product account which would be similar to https://{accoun-name}.{product}.com for example https://paidappsdemo.freshdesk.com
- From the global sidebar, click on "Freshworks Switcher"
- Select the product of your choice from the "explore other products" section
- Fill in the account name and click on "Start Free Trial", and complete the signup process.
This section details the steps required to install the Freshworks Developer Command Line Toolkit commonly referred to as Freshworks Development Kit (FDK) on different operating system platforms. The content outline for this section is as below.
- Prerequisites
- NVM Installation
- MacOS
- Ubuntu
- Windows
- CentOS/RHEL7
- Node Installation
- Installation using NVM
- Installation using Installers
- Installation using other package managers
- FDK Installation
- Fresh installation
- Upgrade the existing version of FDK CLI
6.1 Prerequisites for FDK CLI
The FDK is built as a Node JS application and requires the following software to be installed
- Node version manager/NVM (Optional)
- Node JS v18.13.0+

6.2 NVM Installation
The NVM installation instructions defer based on the platforms. Choose the steps for the respective operating system and follow the instructions to install the CLI.
MacOS
- Install
brewusing the command below. Skip this step if already havebrewinstalled locally# run below command via terminal /bin/bash -c "$(curl -fsSL https://raw.githubusercontent.com/Homebrew/install/HEAD/install.sh)" # Verify the installation brew version - Install NVM via brew
# run below command via terminal # install nvm brew install nvm - Add nvm to your shell profile: To make nvm available every time you open a new terminal window, you will need to add the following line to your shell profile (e.g., ~/.bash_profile or ~/.zshrc):
source $(brew --prefix nvm)/nvm.sh - Verify NVM version
# verify version
nvm --version
# output should be v0.39.1 or higher
Ubuntu
- Patch your system with the latest software updates
# Update your system software # When prompted enter the admin user credentials to execute the command sudo apt update && sudo apt upgrade -y - You must have cURL installed
# run below command sudo apt install curl - Download and execute the installer script using the following Command
curl -o- https://raw.githubusercontent.com/nvm-sh/nvm/master/install.sh | bash - NVM keeps all files under the
$HOME/.nvmdirectory. Then it sets the environment in the user's.bashrcfile. You need to load this environment to set the required configuration by running the following command:source ~/.bashrc - Verify NVM version
# verify version
nvm --version
# output should be v0.39.1 or higher
Windows
Install via installers
Install via chocolatey package manager
- Launch the Poweshell in Admin mode
- Run the following command
Set-ExecutionPolicy Bypass -Scope Process -Force; [System.Net.ServicePointManager]::SecurityProtocol = [System.Net.ServicePointManager]::SecurityProtocol -bor 3072; iex ((New-Object System.Net.WebClient).DownloadString('https://community.chocolatey.org/install.ps1')) - Verify Chocolatey installation using the command given below
choco -v - Install NVM via chocolatey package manager
# install nvm choco install nvm - Verify NVM installation
nvm --version
# output should be v0.39.1 or higher
Install inside Windows Subsystem for Linux
- Open WSL2 for Ubuntu from the start menu
- If you don't already have it, install curl
sudo apt-get install curl - Run the NVM installation script as shown below
curl -o- https://raw.githubusercontent.com/nvm-sh/nvm/v0.39.3/install.sh | bash - The script clones the nvm repository to ~/.nvm, and attempts to add the source lines from the snippet below to the correct profile file (~/.bash_profile, ~/.zshrc, ~/.profile, or ~/.bashrc).
export NVM_DIR="$([ -z "${XDG_CONFIG_HOME-}" ] && printf %s "${HOME}/.nvm" || printf %s "${XDG_CONFIG_HOME}/nvm")"
[ -s "$NVM_DIR/nvm.sh" ] && \. "$NVM_DIR/nvm.sh"
# This loads nvm
CentOS/RHEL7
- Patch your system with latest software updates
# Update your system software sudo yum update - You must have cURL installed
# run below command sudo yum install curl -y # when prompted enter the admin user credentials to execute the command - Download and execute the installer script using the following Command
curl https://raw.githubusercontent.com/creationix/nvm/master/install.sh | bash - NVM keeps all files under the
$HOME/.nvmdirectory. Then it sets the environment in the user's.bashrcfile. You need to load this environment to set the required configuration by running the following command:source ~/.bashrc - Verify NVM version
# verify version
nvm --version
# output should be v0.39.1 or higher
6.3 Node Installation
Installation Using NVM
- Check if you have existing NVM installation and is pointing to right version
nvm -v # output should be v0.39.1 or higher - Use NVM to install Node 18
nvm install 18 # output should be similar to "Downloading and Installing node v18.13.0 or higher" # towards completion you should see similar to "Now using node v18.13.0 (npm v9.5.0)" - Verify the Node version
node -v # output should be higher than v18.13.0 - Set default alias for Node 18
nvm alias default 18
# default -> 18 (v18.13.0) or higher
Installation Using Installers
- Download the setup for Node from here as applicability
- Follow the installation steps in the installer when prompted
Installation using other package managers
- For CentOS
dnf module install nodejs:18/common - For Windows
winget install OpenJS.NodeJS
6.4 FDK Installation
Fresh installation
- Use Node Package Manager (NPM) to install latest Freshworks CLI
npm install https://cdn.freshdev.io/fdk/latest.tgz -g - Verify the installation using command below
fdk -v
Upgrade the existing version of FDK CLI
- For existing Users of FDK CLI with version <9.0.0, remove the existing version of FDK using the command given below
npm uninstall fdk -g - Remove the
~./fdkfolder manually using the command given below# remove the ~/.fdk folder rm -r ~/.fdk - Use Node Package Manager (NPM) to install latest Freshworks CLI
npm install https://cdn.freshdev.io/fdk/latest.tgz -g - Verify the installation using command below
fdk -v
Installation summary
Towards the end of the installation, your output should be the same or higher than the listed versions
#for nvm -v
0.39.3
# for node -v
v18.13.0
# for npm -v
9.5.0
# for fdk -v
9.0.2
Here is the content outline for this section
- Visual Studio Code Setup
- Freddy Copilot for Developers - Download
- Freddy Copilot for Developers - Configuration
Visual Studio Code Setup
- Download Visual Studio Code installer from here as per your workspace environment.
- Follow the installation steps as per your workspace environment
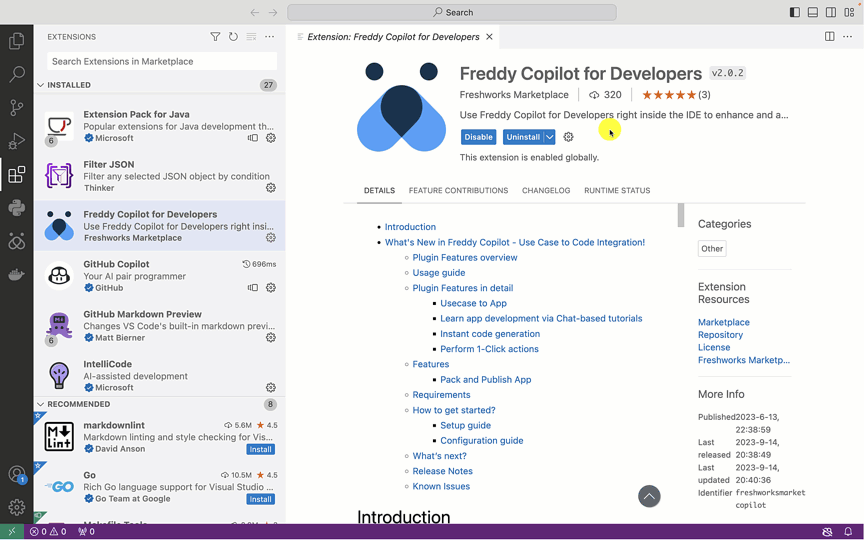
Freddy Copilot for Developers - Download
- Launch the Visual Studio Code application
- Navigate to Visual Studio Code Marketplace by clicking on "Extensions"
- Under "Search Extensions in Marketplace" search for "Freddy Copilot for Developers"
- Click on "Install", post installation it should reload the workspace.
- If not reloaded automatically you will be prompted with success message with option to "Reload"
Freddy Copilot for Developers - Configuration
- Navigate to installed extensions, and select Freddy Copilot for Developers.
- Click on settings gear, select extension settings
- When launched you shall see following settings in the settings page
- FDK Path - Refers to the FDK installation path available for your workspace
- API Key - To be retrieved from Developer profile from AMP page
- User Name - Name that will be visible for your chat in conversational interface
- Context Settings - Number of previous conversation responses to be remembered and referred to while framing a new answer with stored context for the respective conversation. This ensures more accuracy in the answer given.
- Open integrated terminal by selecting Terminal -> New Terminal
- Check your Node version if it is v18.13.0 or higher, using command given below. If not installed already then install it using steps in "6.1 Prerequisites for FDK CLI"
node -v # if you have more than one Node JS installations with nvm, use the v18.xx.x instance using following command nvm use 18 - Check if FDK is installed and is v9.0.2 or higher, using command given below. If not installed already then install it using steps in "6.4 FDK Installation"
fdk -v # if using older versions of FDK it might ask for an FDK update. When prompted allow the upgrade - Get the FDK installation path
- For MacOS or Linux environments use command given below
which fdk - For Windows instances
- If Node is installed using Chocolatey then the path will be as follows
C:\ProgramData\nvm\v18.xx.x\fdk - If Node is installed via installer then - the path will be as shown below
C:\Program Files\nodejs\fdk - If installed at any other location than the relevant location
<DRIVE_NAME>:\<INSTALLATION_LOCATION>\nodejs\fdk - Optionally it can be present under following location
C:\Users\{YOUR_USERNAME}\AppData\Roaming\npm\{node_version}\bin\fdk
- If Node is installed using Chocolatey then the path will be as follows
- For MacOS or Linux environments use command given below
Feature list
Followiing are the features supported in current release of Freddy Copilot for Developers
- App creation
- Existing app creation experience
- App creation via app templates
- Use case to code conversion
- Build your own app template
- One click operations
- Run App
- Stop App
- Pack and Publish
- Developer productivity options
- Conversation to code
- Insert and copy code
- Download code
- Explaining code
- Optimising code
- Writing documentation
- Perform security check
- Generate Unit Test cases
- Perform code review
App creation
Existing app creation experience
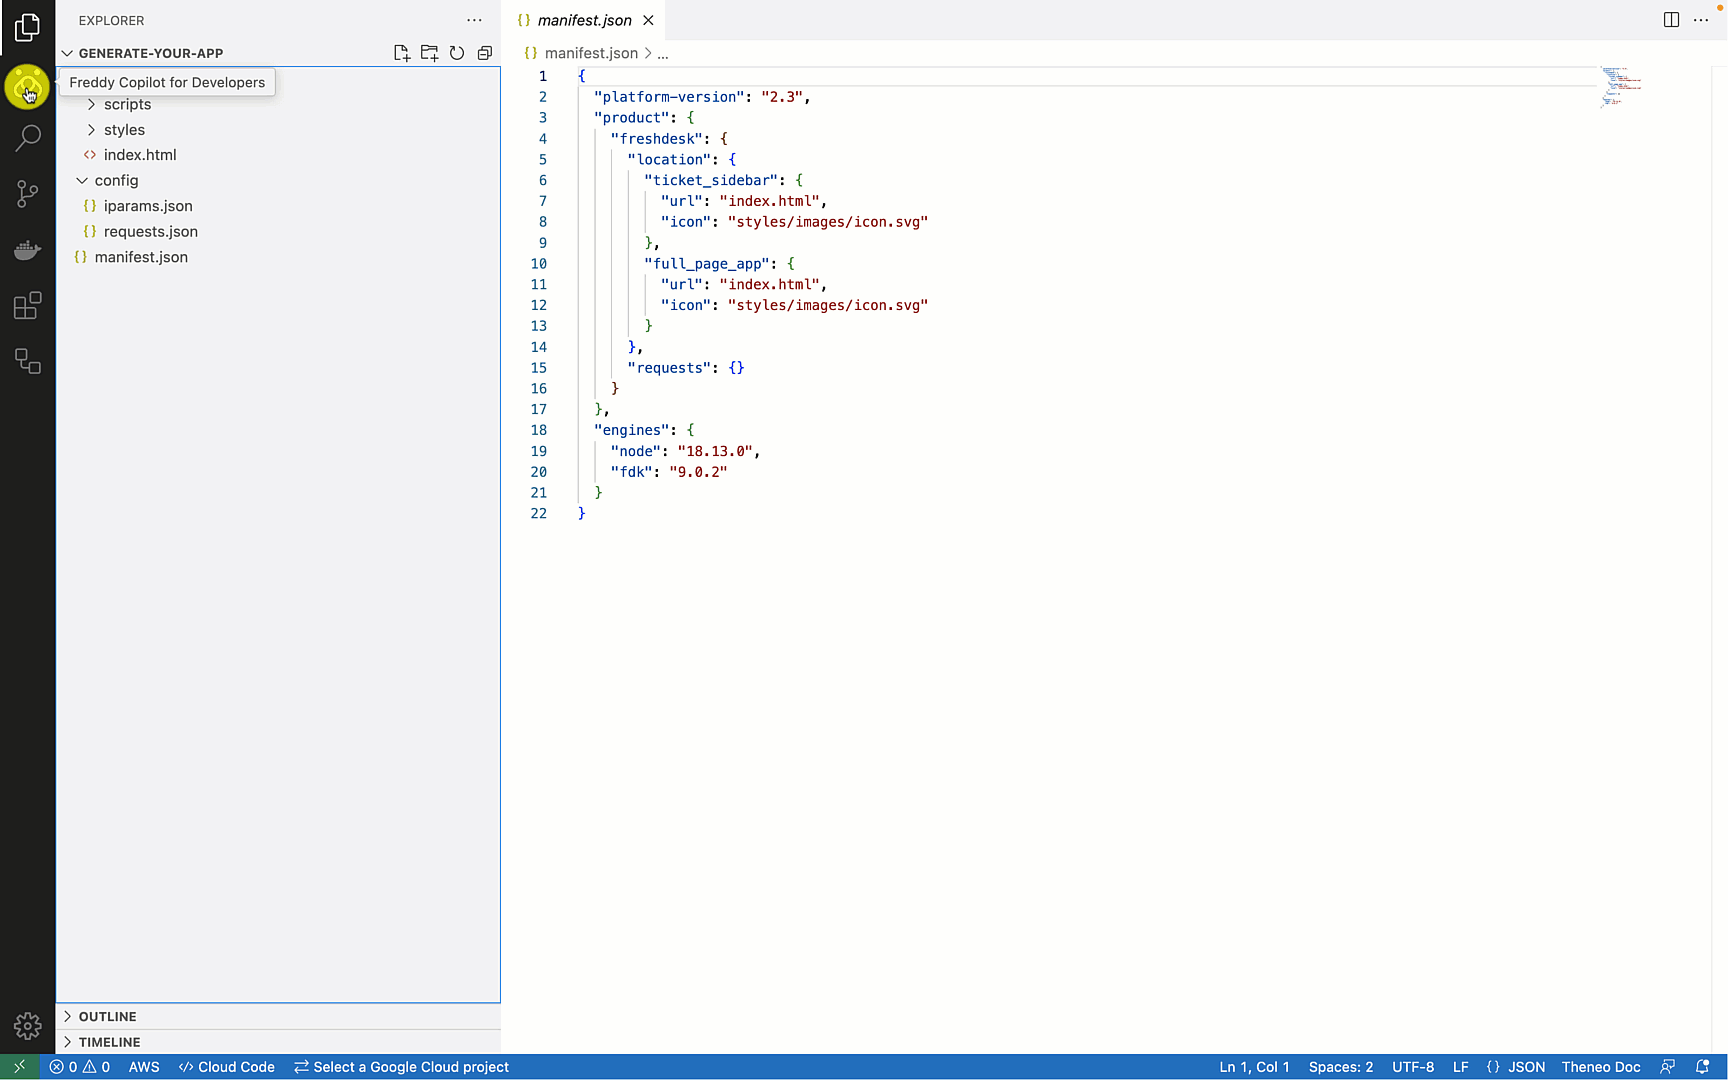
Freshworks Developer Platform supports command line interface for app development, referred to as Freshworks CLI (FDK). It is a Node JS based utility that allows developer to create apps for Freshworks product by using pre-configured app templates.
- Using
fdk createoption, developer can create a starter app by selecting product for which the app is to be built. - Once the desired product and template is selected, the app directory is created with required files in it.
- The Developer then would need to start the application via
fdk runcommand and stop the same usingCtrl + Coption - Once the development is complete, the app need to be bundled using
fdk packand the generated app distribution bundle archive need to be manually uploaded to the AMP for app listing/publishing.
Here is a quick glimpse of exiting app developer journey
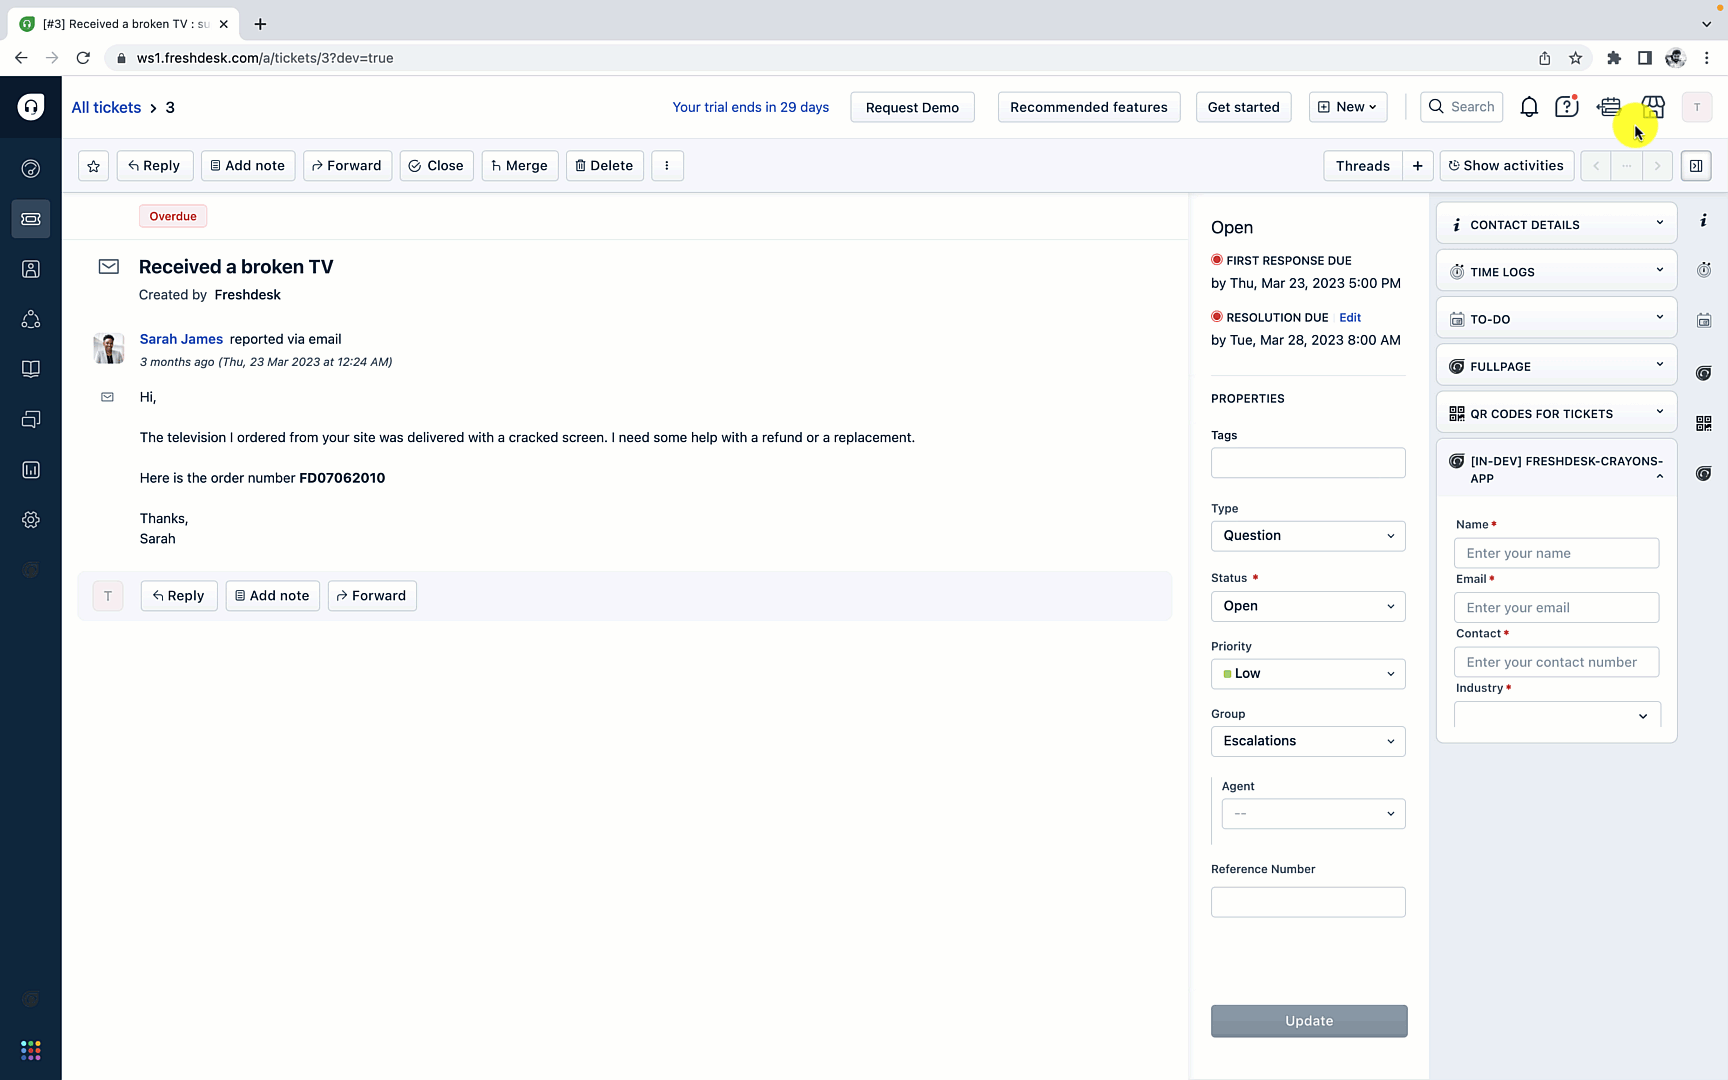
App creation via app static templates with Freddy Copilot for Developer GUI
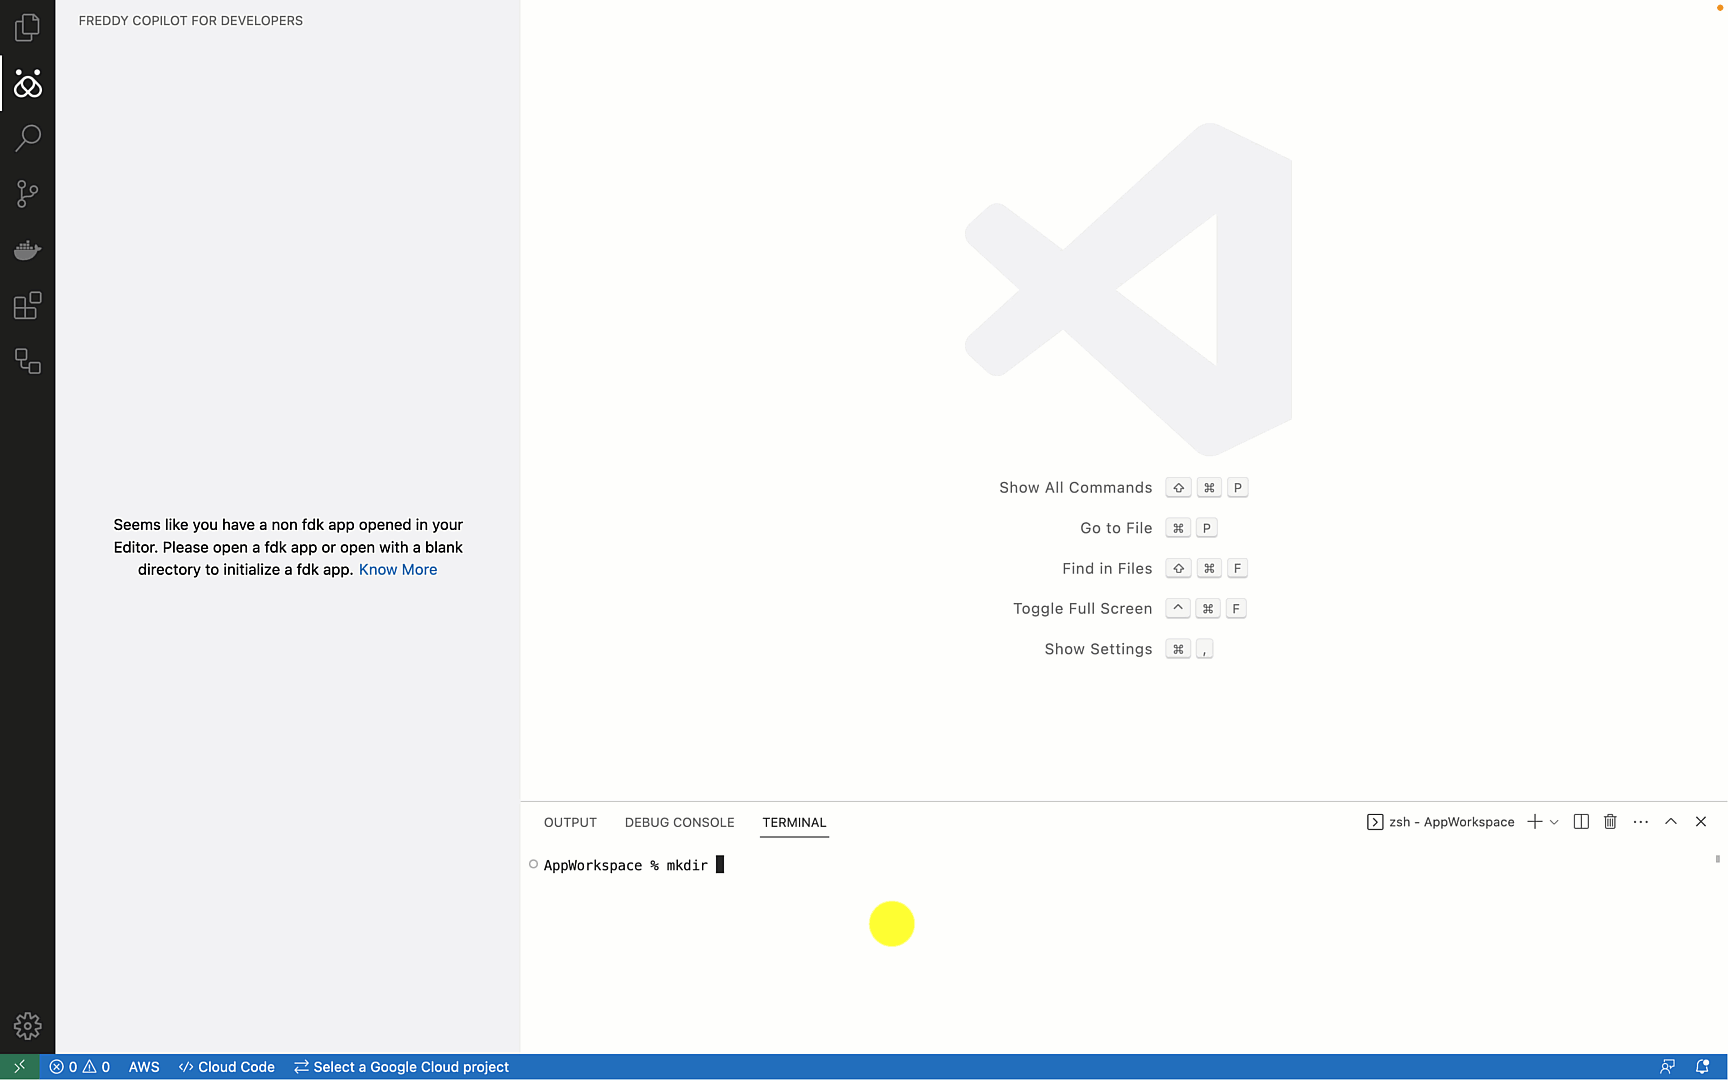
- Open Visual Studio Code workspace with an empty directory
- Open Freddy Copilot for Developer extension from the empty directory, you shall see an option for app creation
- Click on "Choose Template"
- Select the product for which you wish to build the app
- Select the starter app template name from the dropdown
- Click "Submit", to create a new app in the current app workspace
Build your own app template
- Open Visual Studio Code workspace with an empty directory
- Open Freddy Copilot for Developer extension from the empty directory, you shall see an option for app creation
- Click on "Create Template"
- Enter the prompt for your application use case begining with "I want to build an app"
- Click "Submit", to create a new app in the current app workspace
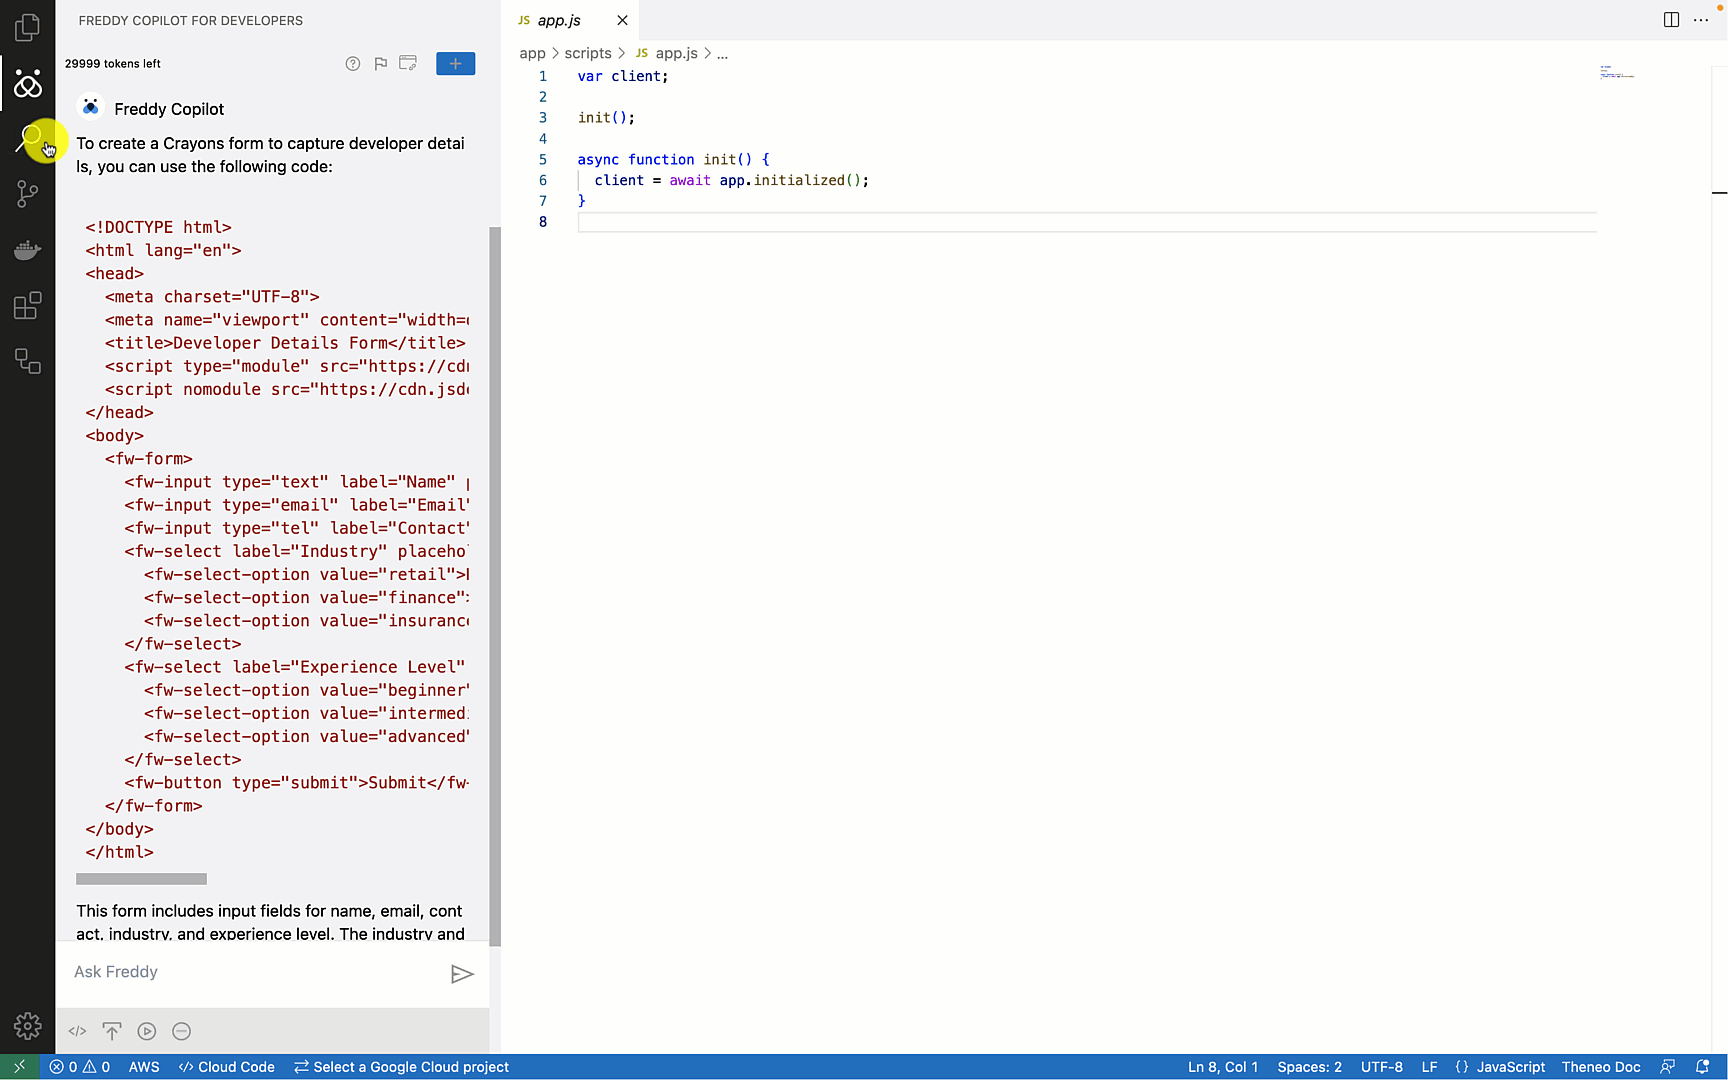
Use case to code conversion
- Open Visual Studio Code, click on Freddy Copilot for Developer Icon to open the extension
- Click on "Start building apps from scratch"
- You will be prompted to enter the folder name. Once entered VS Code will open a new windows with newly created folder as the current workspace.
- Navigate to the extension, click again on the "Start building apps from scratch" option
- Select the product for which the app is to be built
- Enter the use case as input when prompted, and submit
- It will infer the app use case with placeholder,click on submit
- It will generate the app as per use case
- Verify the generated code. Refer to the video below when in doubt.
One click operations
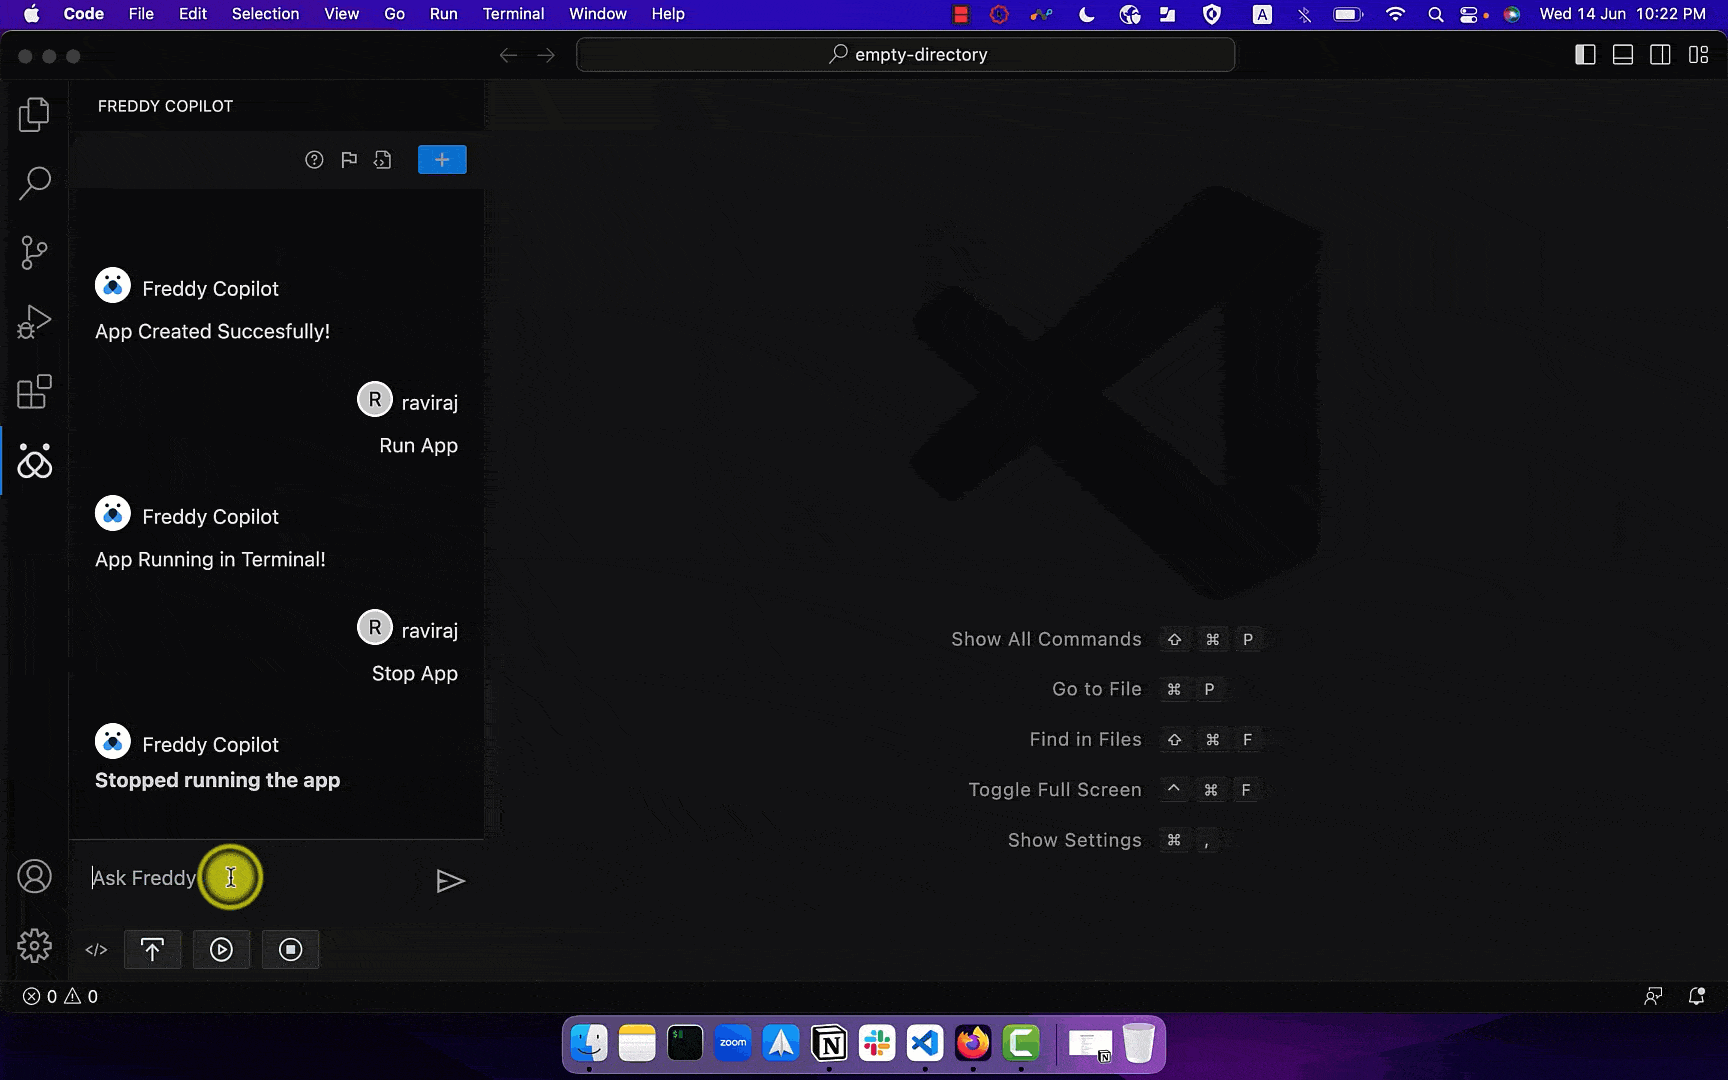
Run App
- Navigate to the Freshworks App directory
- Click on "Freddy Copilot for Developers" plugin
- At the bottom you shall see an option to "Run App", click the same.
- Navigate to your product account, and append "?dev=true" in the query parameters
- Check for the app placeholder for app rendering depending on your app template placeholder location
Stop App
- Navigate to the Freshworks App directory
- Click on "Freddy Copilot for Developers" plugin
- At the bottom you shall see an option to "Stop App", click the same.
- If the app is already running in a terminal, the app run is stopped

Developer productivity options
Chat based code generation
- Open a Freshworks App in Visual Studio Code
- Click on "Freddy Copilot for Developers" and in the input box, add your query prompt and submit
- The output should be a response from Freddy Copilot Generative AI Service shown in the chat webview
Insert code
- The generated output of chat based code generation, if contains a code segment, by default option to insert and copy code are shown along with code segment
- Open the file in which you want to insert the code
- Click on or select the segment where you wish to insert the generated code.
- Navigate to chat response in Freddy Copilot for Developers and click insert, the content in file should get replaced with the new one.
Copy code
- The generated output of chat based code generation, if contains a code segment, by default option to insert and copy code are shown along with code segment
- Navigate to chat response in Freddy Copilot for Developers and click copy code option.
- Navigate to the file where you wish to paste the code content
- Select the segemnt or bring your cursor to the place where you wish the paste the content and paste it.
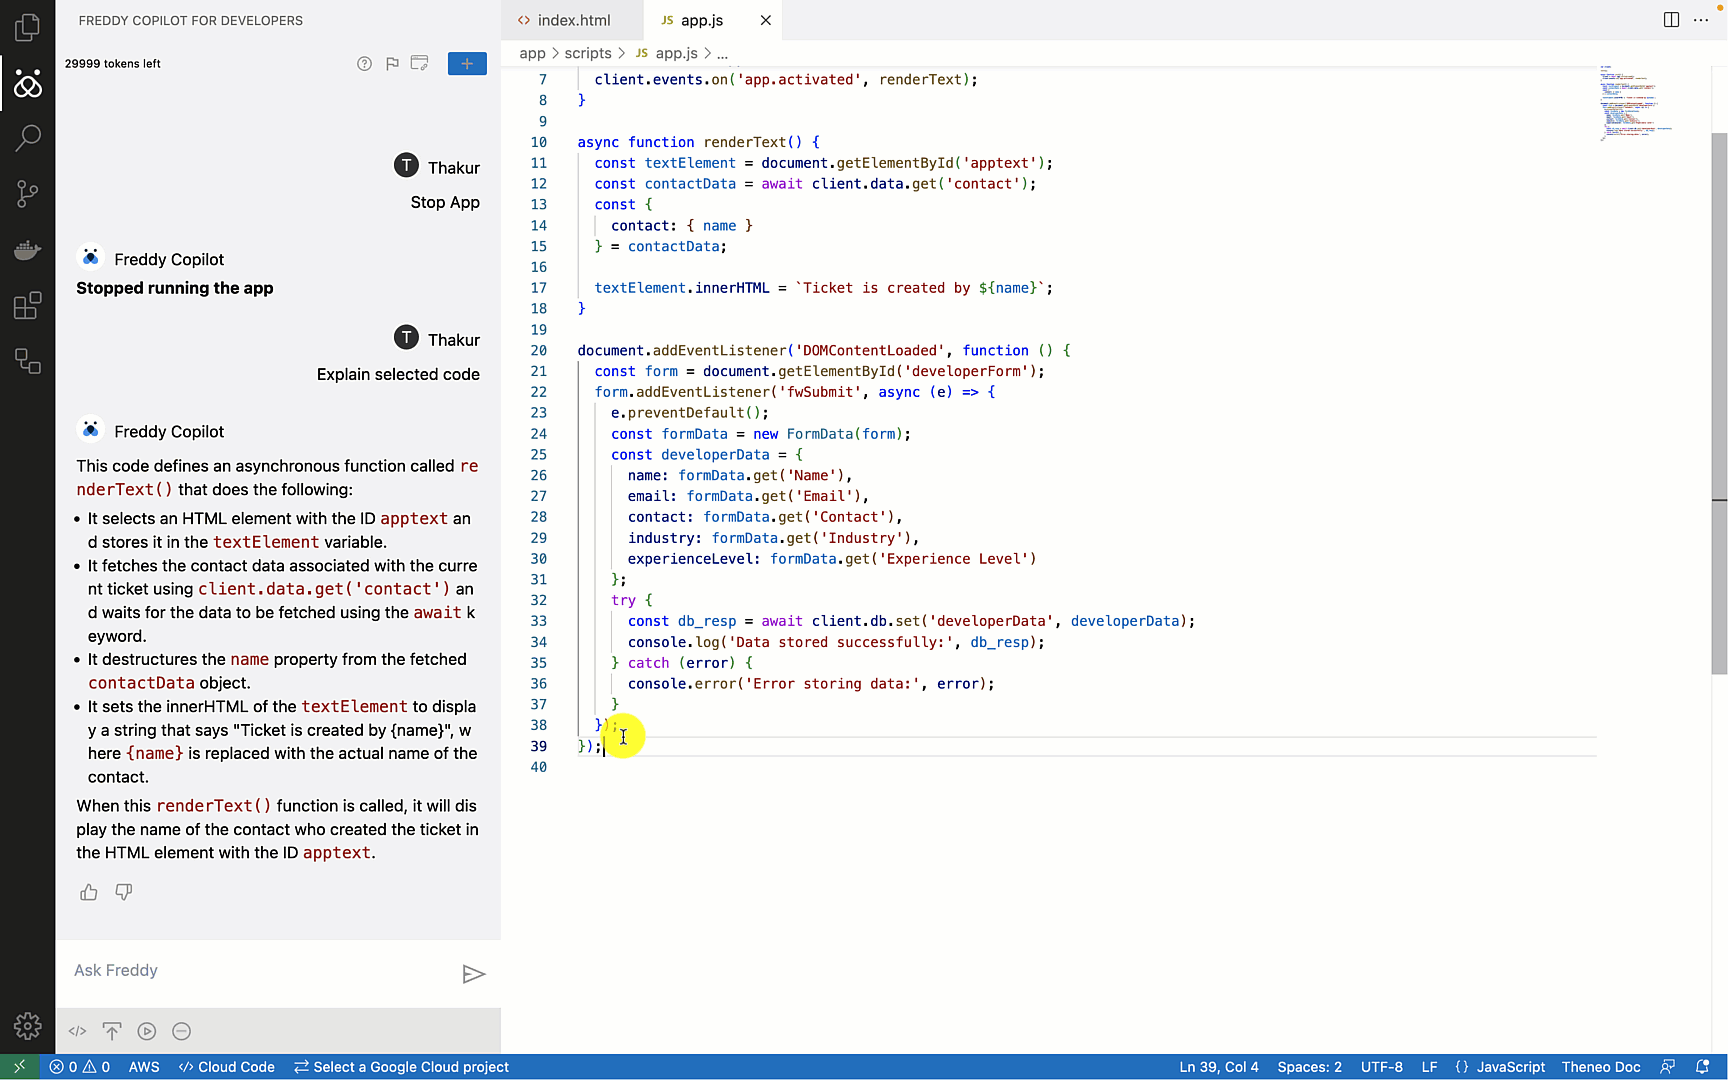
Explain code
- Navigate to your Freshworks App
- Select a specific segment of the code, recommendations is not to use large code blocks at once.
- Right Click -> Explain code
Writing documentation
- Navigate to your Freshworks App
- Select a specific segment of the code, recommendations is not to use large code blocks at once.
- Right Click -> Write documentation
- Use the generated content in your markdowns and incorporate code comments in the selected segement
Perform security check
Pack and Publish
- Navigate to the Freshworks App directory
- Click on "Freddy Copilot for Developers" plugin
- At the bottom you shall see an option to "Pack and Publish", click the same.
- You shall be prompted with option to publish an "New App" or "Existing App"
- Fill in the necessary details based on your selection.
- Once complete, click on "Submit" to publish the app the Product account using Developer Account
What is Freddy Copilot for Developers?
Freddy Copilot for Developers is the Generative AI-powered development experience that enables faster and more intuitive app development. Stretching across the app development journey, it integrates seamlessly with Visual Studio code and can suggest code snippets through conversational messages. It helps developers build and publish reliable apps faster through chat-based tutorials, Rapid code generation, and 1-Click actions such as 1-Click review, 1-Click Documentation, and 1-Click Publish.
With Freddy Copilot for Developers, you can forget mundane coding tasks or build apps from scratch and get started with building apps for your business needs right when you need them, and as quickly as you need it.
Why should I use Freddy Copilot for Developers?
Through the power of generative AI, Freddy Copilot for Developers helps you ship high-quality, reliable Apps faster. Using the chat-based tutorials, Freddy Copilot for Developers empowers you to overcome upskilling challenges on a new platform. With rapid code generation, you can swiftly generate code for mundane, repetitive tasks. With 1 -Click actions you can review, document, and publish easily.
With assistance across the development journey, you can transform ideas from use cases to code deployments in a breeze. Freddy Copilot for Developers enables you with more time for value-added tasks and driving innovation across your business.
What training data was ingested by Freddy Copilot for Developers?
Freddy Copilot for Developers is capable of addressing app development-related queries along with general programming paradigms as it has the context of Freshworks Developer documentation. With future releases and advancements in the platform, additional documentation will be added or updated in its knowledge base to ensure users get relevant results.
How can I enable Freddy Copilot for Developers for my organization?
You can list your email for our beta access, and keep eyes on the email and community announcements on open launch.
Which programming languages does Freddy Copilot for Developers support?
Currently, the Freshworks Developer Platform supports Node JS and React-based applications. To be consistent with platform behavior Freddy Copilot for Developers support the same.
What guidelines should I follow to get better results from Freddy Copilot for Developers?
Kindly follow the standard input prompting techniques for conversational AI models. Furthermore, to get improved results kindly use Freshworks app development context-related query terms.
Can I choose not to use the code produced by Freddy Copilot for Developers?
You can very well do that. The Freddy Copilot for Developers operates as a developer assistant for code that provides chat-based code recommendations and one-click actions. The generated code output provides users explicit options to "copy code" or "insert code." Developers can choose to include or discard the output code as deemed necessary.
What is the correctness of the code produced by Freddy Copilot for Developers?
The Freddy Copilot for Developers is an AI assistant and produces moderately accurate code snippets for the Freshworks app context when prompted correctly. However, since it is in its early stages of development, at times the results might not be accurate. We recommend developers provide feedback on the output response whenever met with such a situation, which will allow us to improve the code quality for such sections.
Which all conversational languages can I use apart from English while using Freddy Copilot for Developers?
The multi-lingual support is not there yet and English is the only supported language. When demand for a specific language increases it may be incorporated into Freddy in future versions.
Is there any pricing?
Currently there is no pricing for Freddy Copilot for Developers, we are opening gates for developers to explore Freddy Copilot for Developers and build apps for freshworks. There will be rate limiting on API calls.**
Is Freddy Copilot for Developers available across all regions?
Yes, as of 15th June 2023, Freddy Copilot for Developers is available globally in all the Freshworks regions.
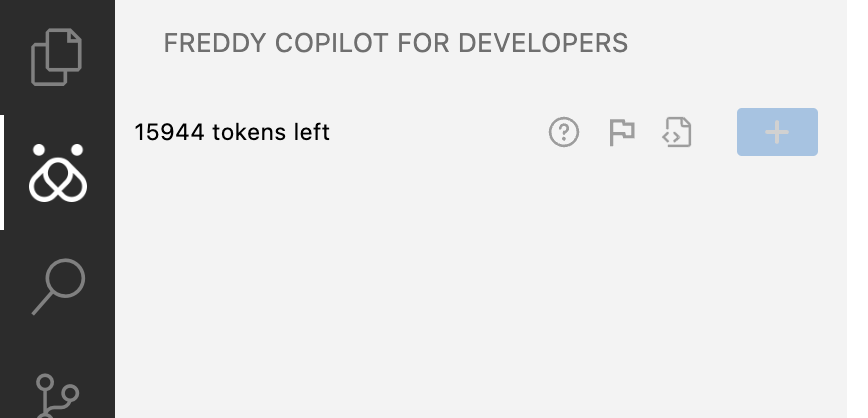
Is there any limit on plugin usage or tokens?
The Freddy Copilot for Developers is available with hourly token limit. These limits can be configured at account level and can be increased with formal requests via support process.
These tokens are a soft quota limit to put control the on number of calls allowed via developer interface to limit platform abuse. The available tokens for use will be shown in the left top corner of the conversational chat interface.
Will Freddy Copilot for Developers reproduce my private code?
No, Freddy Copilot for Developers will not be having any code base except one you give it as an input. Freddy can accept textual input as well as code-based inputs. When passed private code as input, it can analyze and suggest improvements for the code.
What is the context persistence setting in Freddy Copilot for Developers?
Freddy explicitly uses chat context to give contextual results based on user input queries. It results in higher token usage; hence, it is a configurable option that users can opt in or out of. By default, it uses five query responses as context for giving relevant results, which are maintained in the local storage of the workspace. Once the user closes the current workspace, the data is lost.
How can I control the sharing and use of my data in Freddy Copilot for Developers?
Freddy implicitly captures user data such as output feedback (upvote, downvote, and textual inputs), tokens used, and input prompts to enhance output quality in the future. It further uses chat context of last five interactions to provide relevant results. However, it doesn't support chat persistence, so no confidential or personal information is captured or stored. Hence, the data sharing controls are not in place.
Are there any data and privacy guidelines that are followed?
When developing applications that deal with sensitive data, we recommend complying with local data and privacy guidelines with local regulations for app building while using Freddy. For example, EU-GDPR when dealing with customer data for the European region.
Use case list
In this section we will build few simple app use cases from real time and try to build apps for the same using Freddy Copilot for Developers. They are listed as below
- Developer Profile Analyser
- Bitly URI shortner
- Shopify App
- TeamViewer integration with Freshservice
Use case definitions
The above mentioned use cases can be solved with Freshworks in following manner
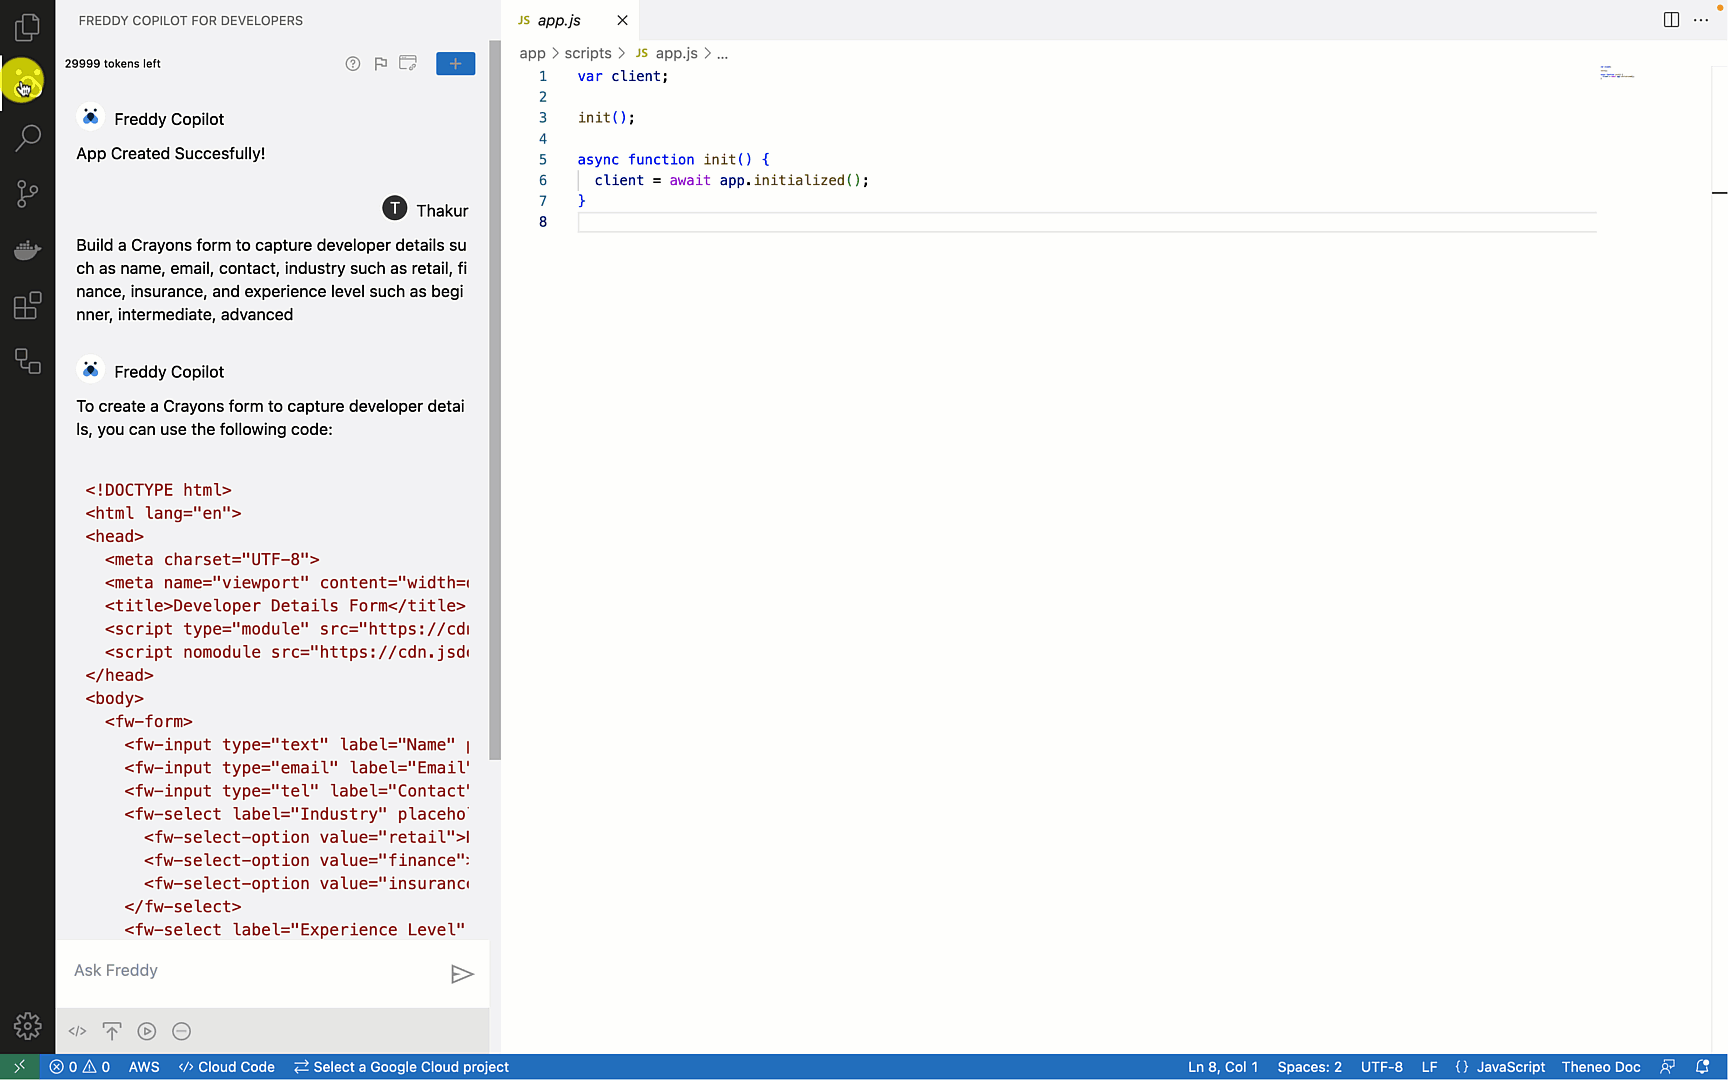
- Developer Profile Analyser - Can be built as client side application that captures these details in a Crayons form and send this data and send it to external API built by Prince
- Bitly URI shortner - takes a long URL as input, converts it to a short one and displays the short URL on the UI
- Shopify App - Fetch order information from Shopify using email ID as input, and shows the information in a card layout
- TeamViewer integration with Freshservice - Creates a remote session via API integration in Freshservice against a ticket in sidebar. When clicked on Start Remote Session, it initiates the new remote session.
Token limit exhausted
The configured token limit for the developer account is 60000 tokens per hour. If exhausted the quota limit, wait for the cooldown period and try again. Be mindful when using large and complex queries as it will consume higher amount of tokens.
Packed and published app not visible under my account
Verify your API key and account association is pointing to the environment being referred to. If you have more than one developer account, then the respective account API tokens will be different and will be used for publishing the apps using the same.
Hands on labs
What lies in future DevRel roadmap items for Freddy Copilot for Developers
- Improved developer productivity Features
- Support for natural language inputs for building app as opposed to Freshworks specific terminologies
- Advanced support for prompt
- Chat based guided tutorial for app building
- Sample Apps with follow along tutorials for building Apps via Freddy Copilot for Developers and many more.