What we'll learn today
- Building a Freshworks App from scratch
- OAuth 2.0 on Freshworks developer platform
What we'll need
- A Freshdesk trial account
- A modern web browser like Google Chrome, Firefox, Edge, or Safari.
- Freshworks CLI
- A text editor
- Basic knowledge of HTML, CSS, JavaScript, CLI, and Browser DevTools
- The Sample Code (See Get Set-Up)
What we'll build
You will build an app that runs in a Freshservice instance. When someone creates an issue in the specified GitHub, The app will fetch relevant information from that GitHub repository and display it.
Prerequisite Knowledge
- How users use Freshservice
- Read the App Introductory Guide
- Know App lifecycle and configuration pages
Get the sample code ready
git clone git@github.com:freshworks-developers/octocat-service-app.git
Alternatively,
Verify
- Open the cloned repository in the code editor with the ‘start' branch.
- Open Terminal/Command Prompt and run > fdk run
- You should notice CLI starts a simulated server at http://*:10001/
- Login to Freshdesk trial account and pay attention to four placeholders after appending ?dev=true at every page. You should see an app icon available to activate the app.
- Ticket Sidebar
Let us clearly understand the goal in this section. Octocat Service app should be able to do the following.þ
- Know the current ticket that the user is viewing
- A button interface creates an issue on the specified GitHub repository specified by the user during the app configuration page. Of course, App should avoid duplicates.
- An option to open a modal for the ticket user is currently viewing. If it is associated with GitHub Issue already, the modal should display few details from the Issue in the modal.
Approach
- We will use the Data Method feature to get the context information from the current ticket details page that the user is viewing.
- Since App creates an issue in a GitHub repository, GitHub needs to trust the app and authenticate it. Therefore, We will use the OAuth2.0 feature to do this.
- Finally, we will use the Request Method to make API calls and populate the User Interface in the app.
Let's first be clear on what content the UI should render.
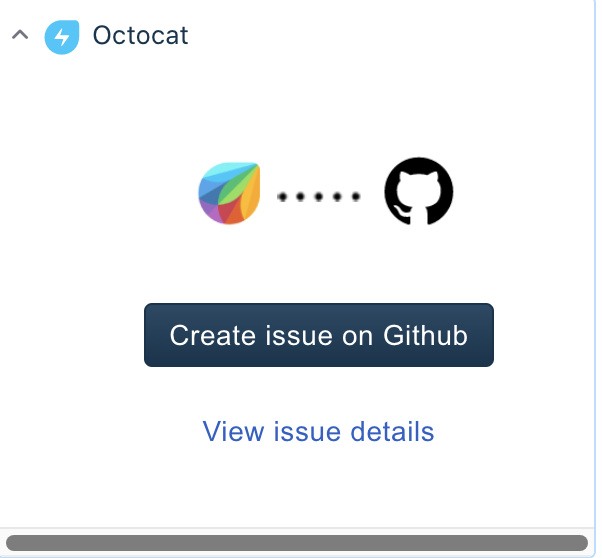
Use the UI real estate provided by the ticket sidebar placeholder to render two buttons. One should make an API call to GitHub to create a ticket, while another should open up a Modal. The Modal should render information about GitHub Issue that is already associated with the current ticket user is seeing.
Open app/index.html, You will see sample text - "To be worked upon" within a tag and class app-body
Replace the app-body section with the following code,
<section class="app-body">
  <picture>
    <img src="./styles/images/banner.png" alt="octocat and dew drop" width="270" />
  </picture>
  <fw-button class="create-issue">Create issue on GitHub</fw-button>
  <fw-button class="issue-details" color="link"> View issue details</fw-button>
</section>
- The picture tag will put in a small image for simply aesthetic reasons.
- The other two fw-button HTML tags will create buttons as the HTML file uses Crayons. See the imported script tags in the head element of the index.html
Now that we have finished building the UI in the ticket sidebar, update the ‘View issue details' button to open the modal.
Open app/scripts/app.js and define the renderApp() function to execute as soon as the HTML page becomes interactive for the user.
async function renderApp() {
  try {
    let _client = await app.initialized();
    window['client'] = _client;
    client.events.on('app.activated', renderSidebar);
    return;
  } catch (error) {
    console.error(error);
    await showNotification('danger', 'Unable to load the app');
  }
}

async function showNotification(status, message) {
  const details = {
    type: `${status}`,
    message: `${message}`
  };
  await client.interface.trigger('showNotify', details);
}
app.initialized()resolves with the client object.- We register a callback renderSidebar when the app is activated
- We show a notification within Freshservice using Interface Method on the client object in case of any error.
We are not yet listening to the user click on the ‘View issue details' button. So far, we've got the client object to show notification and invoke renderSidebar(){..}
Let's go ahead and write code to invoke a modal for the click event listener,
function renderSidebar() {
  let createIssBtn = document.querySelector('.create-issue');
  let viewIssBtn = document.querySelector('.issue-details');

  createIssBtn.addEventListener('fwClick', createIssue);
  viewIssBtn.addEventListener('fwClick', async function showDetails() {
    try {
      await client.interface.trigger('showModal', {
        title: 'Github Issue Details',
        template: './views/modal.html'
      });
    } catch (error) {
      console.error('Saw following error:', error);
    }
  });
}
- We use Web APIs to select the button with class .issue-details
- We register an event listener by passing in
showDetails(){..}onfwClick fwClickis emitted by the crayons library we're using when the user clicks on the button.- The interface method
client.interface.trigger(..);lets the app open a modal and render the UI as described in the object passed as a second argument.
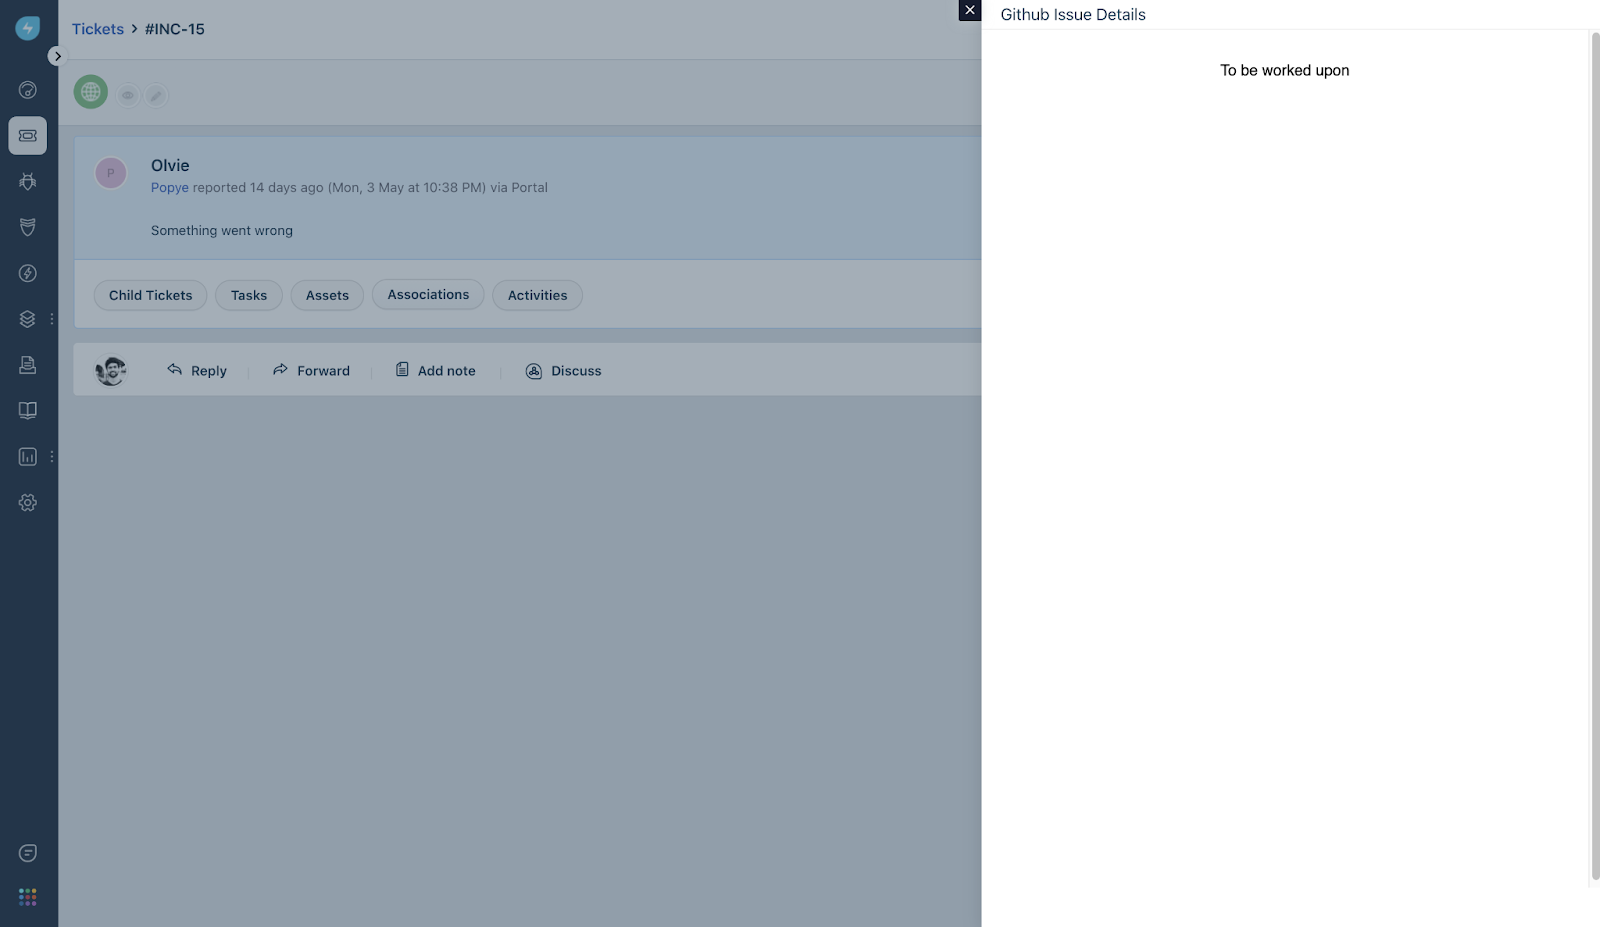
Restart your local simulation using fdk run
There you go, modal on the right side.
In the following steps, before we focus on creating issues, let's understand and set up an OAuth 2.0 process so that there is a protocol followed between your application and GitHub for the safety and security of the user.
This section has many theory lessons, of course, but it will help you have firm foundations.
Why
It is essential to understand why we are talking about Authorization in the first place. Our app creates an issue on a GitHub repository. But some critical questions need to be answered.
- How would GitHub trust the app and let it create an issue on someone's repository?
- How would an app prove itself that it is Authorized to create an issue on someone's repository?
The answer to both of these questions is a variant of one widely agreed-upon standard GitHub and Freshworks should adhere to. It describes a Framework for both parties.
For a Developer
All the hefty work needed for the Authorization to take place is handled by GitHub and Freshworks themselves. As developers, our focus is on the use-case; all we need is to configure a few things for both GitHub and Freshworks.
GitHub's point of view
From the lens of GitHub, your app is a GitHub OAuth App. So, as a developer, you need to configure to let GitHub know that the app will be authorized to access resources that the user is privileged to access.
- You will need to create a GitHub OAuth App. This page expects an Authorization callback URL. It's usually - http://localhost:10001/auth/callback for local simulation purposes. See Freshservice OAuth feature prerequisites section.
- Once created, the Github Developer Settings page will display the apps you've configured. What is crucial for us here is the Client ID and Client Secret that GitHub generates.

Freshworks point of view
Since GitHub already adheres to the OAuth 2.0 RFC6749 standard, it gives Freshworks App platform a way to make Authorization easy for the developer.
Create an oauth_config.json file in the config directory.
{
  "client_id": "75079_Client_ID_14911",
  "client_secret": "0c2f0e1491ec7_OWN_Secret_b488f8dcfc55",
  "authorize_url": "https://github.com/login/oauth/authorize",
  "token_url": "https://github.com/login/oauth/access_token",
  "options": {
    "scope": "repo"
  },
  "token_type": "account"
}
- This file contains all the information needed for the platform to perform OAuth 2.0 on behalf of your app.
- Fill the
client_idandclient_secretwith values obtained from GitHub when configuring the OAuth app. - The
authorize_urlandtoken_urlare dependent on vendors. In this case, GitHub. So we will need to rely on relevant documentation to capture those details. - The options attribute allows the developer to add any more details that 3rd party Vendor like GitHub expects. In our case, GitHub expects the scope. Also, dependent on the vendor's documentation.
- The
token_typeattribute helps the app platform to determine the access level of the app. See Freshservice documentation.
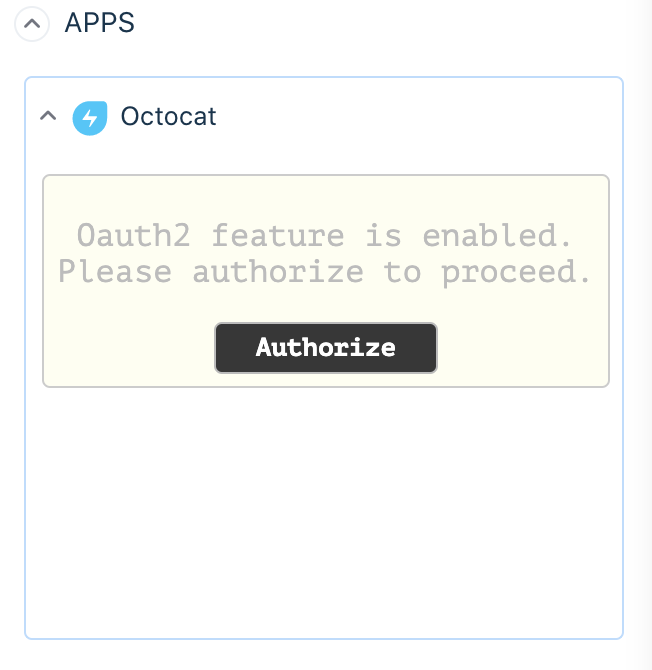
Now when you locally simulate the app, you will see the following screen. App platform automatically recognizes your app needs an access token to operate as expected, so the App Platform requests the user to Authorize with Github.
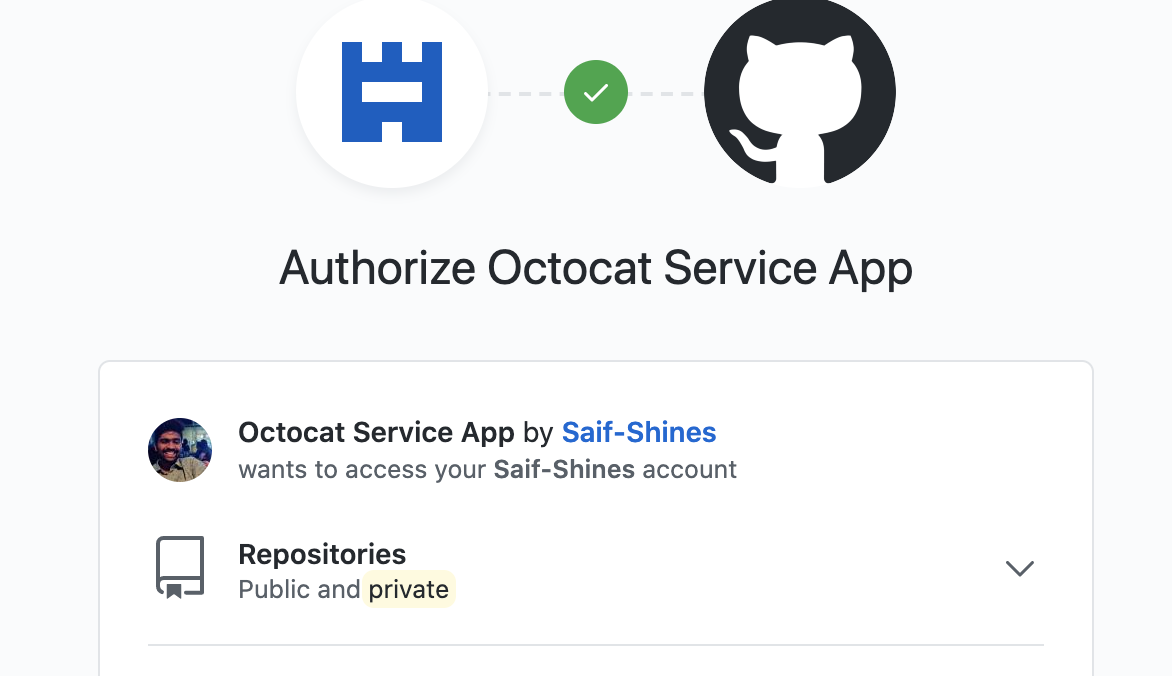
It displays the list of accounts to which the user permits the app to access resources. For this tutorial, we will limit access to your own GitHub personal accounts.
Pro Tip: There will be a .fdk/ directory created in your current working directory. The .localstore file would contain an access_token that your app will use to make API calls.
Now that we have Authorization handled by the Freshworks App Platform, we can focus on the use case to complete building the app.
Our app needs to know which repository should it create an issue for. Let's capture that data from the user by building a simple configuration page. In the same config/ directory, create an iparams.json file and write the following code:
{
  "github_repo": {
    "display_name": "GitHub Repo Name : ",
    "description": "Enter the GitHub Repository name Ex: <githubhandle>/<reponame>",
    "type": "text",
    "required": true
  }
}
Our platform understands iparams.json and renders it into the UI automatically. If you stop the local server and run the app under local simulation again, you will find an additional line:
To test the installation page, visit - http://localhost:10001/custom_configs
Once you open it in the browser, a simulated configuration page will appear as follows.
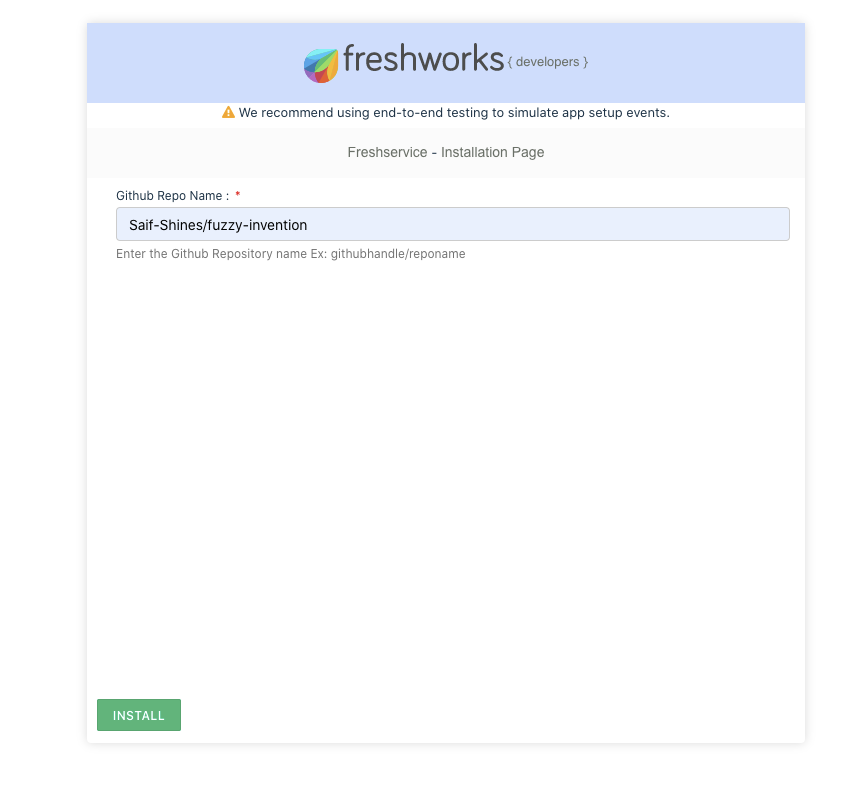
Fill it with appropriate information. In this case, we expect the user to fill in the data in .fdk/localstore in the current working directory.
Open app.js
Let's write event listeners to Create Issue button within renderSidebar(){..} function definition.
let createIssBtn = document.querySelector('.create-issue');
createIssBtn.addEventListener('fwClick', createIssue);
As createIssue function is registered as a callback function tied to click event, let's also define it as follows,
async function createIssue() {
  var {
    ticket: { id: ticketID, subject, description }
  } = await client.data.get('ticket');

  console.log(ticketID, subject, description)
  try {
    let dbKey = String(ticketID);
    let dbResponse = await client.db.get(dbKey);
    await showNotification('warning', `An github issue is already created for ticket number ${dbResponse.ticketID}`);
  } catch (error) {
    if (!error) return;
    if (error.status && error.message) {
      let { status, message } = error;
      let options = {
        headers: {
          Authorization: 'token <%= access_token %>',
          'user-agent': 'freshworks app'
        },
        body: JSON.stringify({
          title: subject,
          body: description
        }),
        isOAuth: true
      };
      let issuesEnpoint = `https://api.github.com/repos/<%= iparam.github_repo %>/issues`;
      let { response } = await client.request.post(issuesEnpoint, options);
      let { id: issueID, number: issueNumber } = JSON.parse(response);
      let data = {
        ticketID,
        issueID,
        issueNumber
      };

      console.log('data', data);
      await Promise.all([client.db.set(String(issueID), { ...data }), client.db.set(String(ticketID), { ...data })]);
      await showNotification('success', 'Github Issue has been created successfully');
    } else {
      console.error('Here is what we know:', error);
    }
  }
}
- There are a lot of things going on here. But let's try to understand one by one.
- We use the
client.data.get(..)[i.e., data method] to get ticketID, subject, and description of the current ticket that the user is viewing. - The Data Storage (DB) is being used to check if there's an issue already created. It does so by saving ticketID as a key in DB.
- If
client.db.get(..)resolves with the data. App understands this resolution as the issue should have been created by the app and shows notification by invokingshowNotification(..){}function that issue is already created. - If
client.db.get()throws an error, ticketID is not found as a Key in DB. - The app needs to persist ticketID in the DB as a sign of a GitHub issue created.
- The API calls made using the Request Method,
client.request.post(..). Pay attention to<%= access_token %>and<%= iparam.github_repo %>. The platform will substitute these values on behalf of the app before the API call hits GitHub Servers. This way, we can secure our app from the information is exposed on the browser frontend. - Rest of DB calls
client.db.set(..)will persist the issueID and ticketID - Finally, a notification is shown to the user saying the issue is successfully created on the intended GitHub repository.
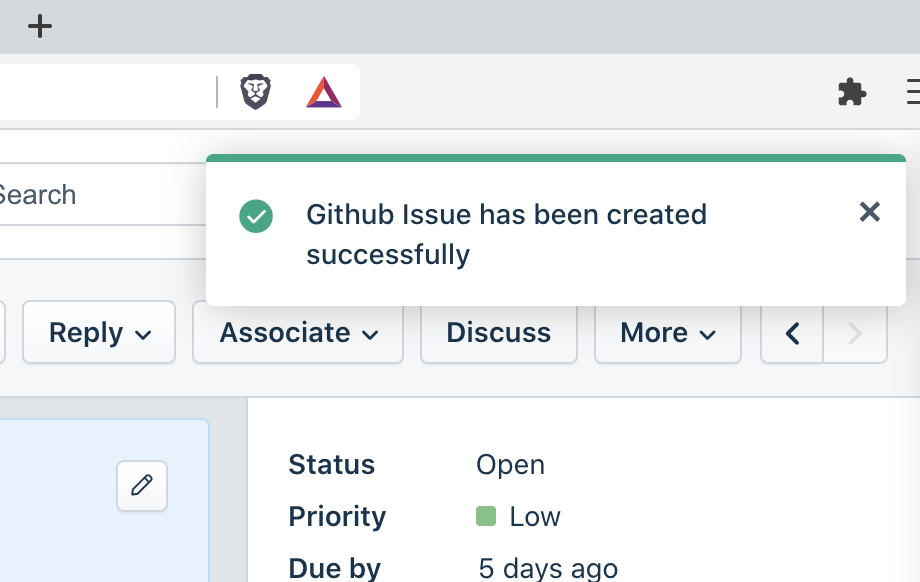
Example of success notification
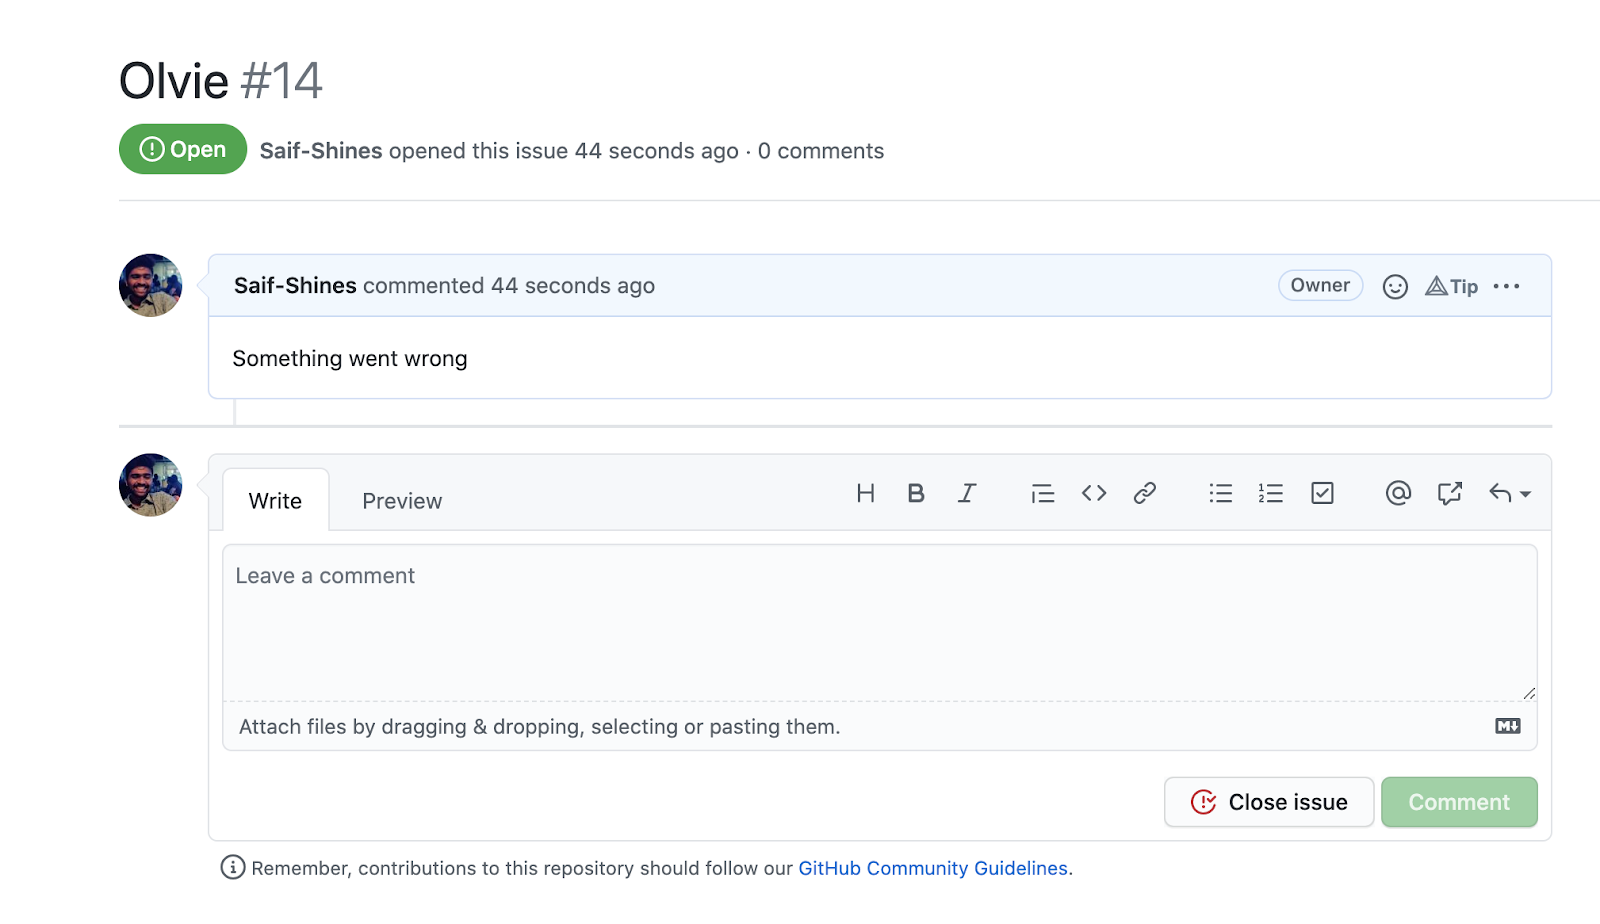
The app has created the issue.
Now that we were able to accomplish creating GitHub Issue automatically with the help of an app. Let's also feel the modal with information on the GitHub Issue thread.
Open modal.js
(async function() {
    let body = document.querySelector('.app-body');
    try {
        let client = await app.initialized();

        let options = {
            headers: {
                Authorization: 'token <%= access_token %>',
                'user-agent': 'freshworks app'
            },
            isOAuth: true
        };

        let {
            ticket: {
                id: ticketID
            }
        } = await client.data.get('ticket');

        console.log('Ticket ID', ticketID);

        let {
            issueNumber
        } = await client.db.get(ticketID);

        let issuesEnpoint = `https://api.github.com/repos/<%= iparam.github_repo %>/issues/${issueNumber}`;

        let {
            response: issueDetails
        } = await client.request.get(issuesEnpoint, options);
        let {
            url,
            number,
            title,
            body: desc
        } = JSON.parse(issueDetails);

        const modalContent = `
      <h2>${title}</h2>
      <fw-label color="blue" value="Issue Number: ${number}"></fw-label>
      <br>
      <code>URL: ${url}</code>
      <h3>Description</h3>
      <p>${desc}</p>
      `;
        body.insertAdjacentHTML('afterbegin', modalContent);
    } catch (error) {
        body.insertAdjacentHTML('afterbegin', '<p>No Github issue details associated to this ticket found</p>');
    }
})()
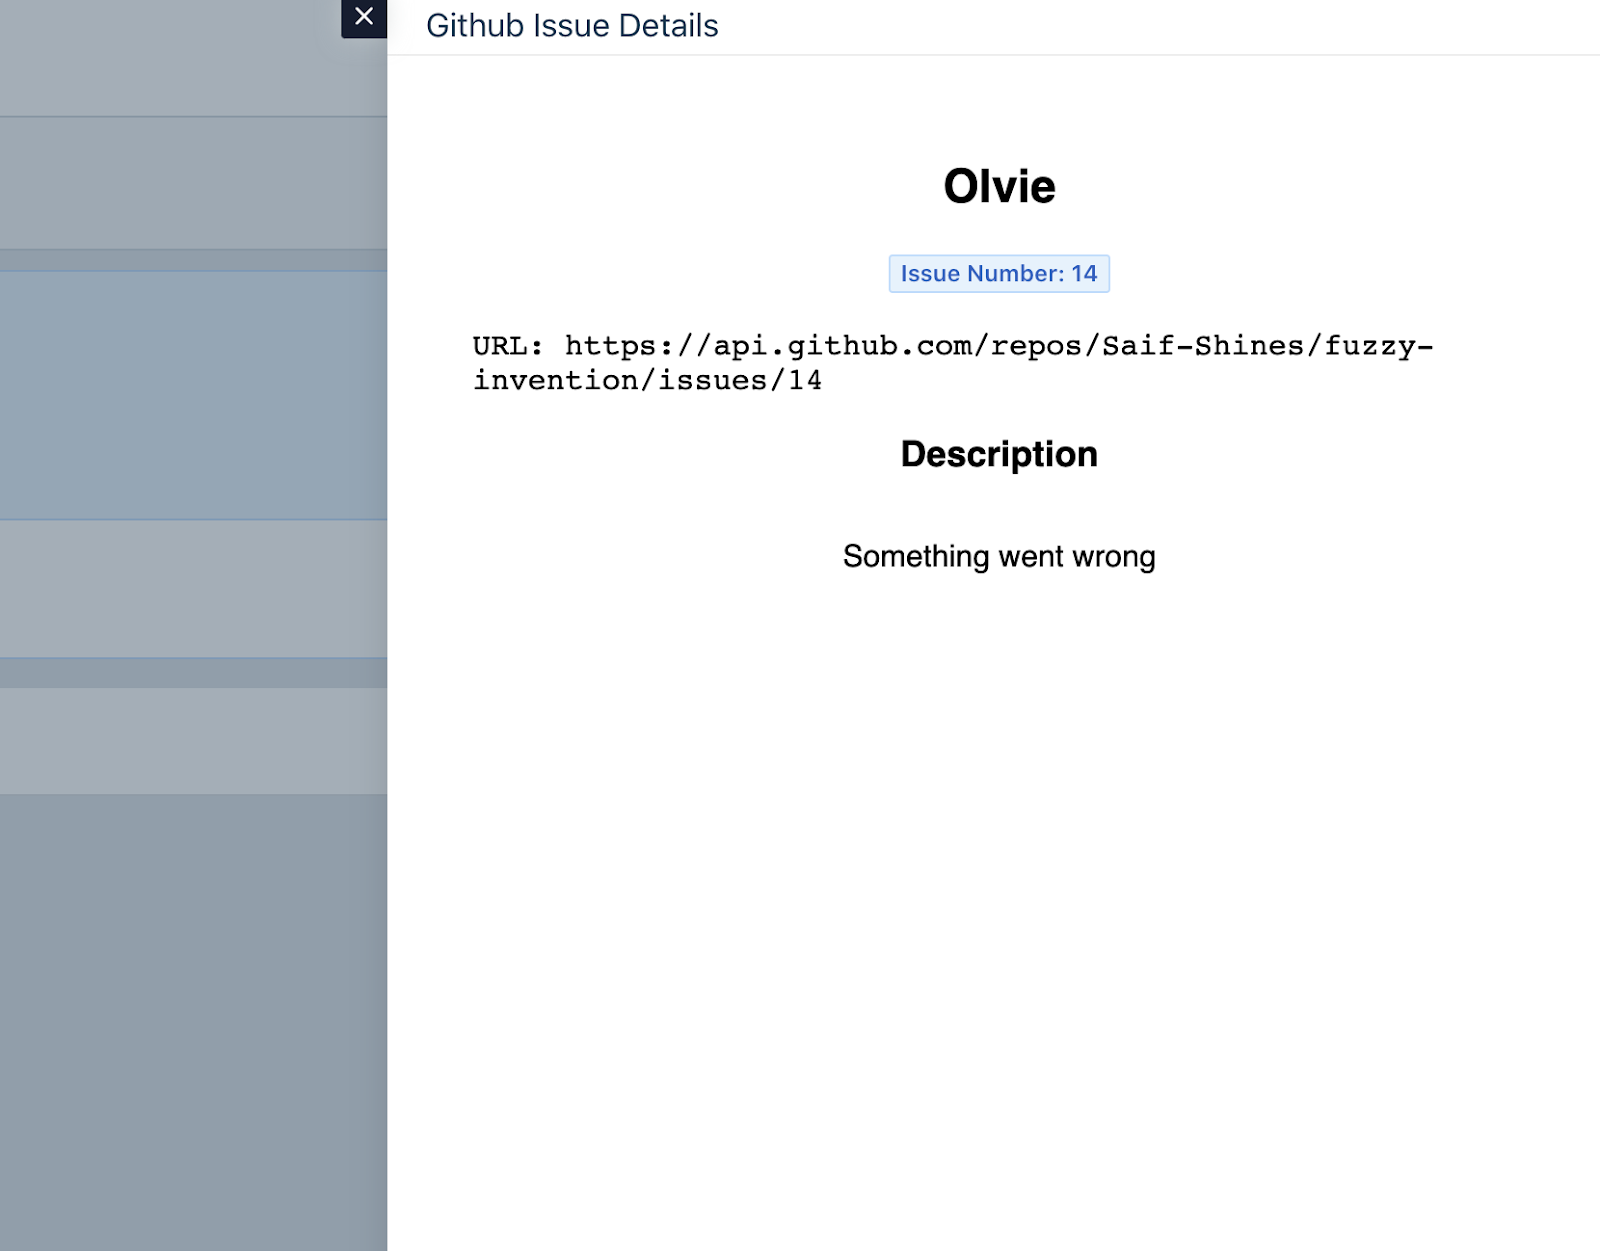
- The goal is to render the information that's available within the issue to the Modal UI.
- Since the
access_tokenis already received, we can make an API call to issue GitHub API GET endpoint usingclient.request.get(..) - The app will fetch the issue number from the DB.
- The information that needs to be rendered onto the UI is saved to modalContent variable as a template literal string.
Phew! If you have made it this far, congratulations!
This app potentially covers most basics that you need to be confident about Freshworks App Development.
See the finished app source code
Once again, Kudos!