App set-up events are events that occur when an app is installed from the Freshworks Marketplace, updated to the latest version, or uninstalled. An app set-up event is a synchronous event and you can enable your app to decide whether the event should reach completion. For example, if a webhook has to be registered during app installation, you can use the app set-up event to disallow installation if the webhook registration fails.
To configure and use the app set-up events:
From your app’s root directory, navigate to manifest.json.
Subscribe to an event by configuring an event listener. To do this, include the events object within the modules.common object, specifying the app set-up event and the corresponding callback methods as follows.
manifest.json"modules": { "common": { "events": { "<eventName>": { "handler": "<eventCallbackMethod>" } } } }When an app set-up event occurs, the corresponding event listener invokes a callback method and passes a standard payload to the method.
In server.js, define the callback function.
- The default app execution timeout is 20 seconds. If the request timeout is increased to 20, 25, or 30 seconds, the app execution timeout is extended to 40 seconds.
- To know all the platform restrictions and constraints, see Rate limits and constraints.
- Avoid using symbols, such as arrows, in the code when defining the event, as they may cause errors.
Payload attributes
When an app set-up event occurs, a payload is passed to the callback method. The payload is a JSON object with the following attributes.
- app_settingsobject
Information pertaining to the app settings as a JSON object of key-value pairs. If your app does not use the app settings functionality, an empty JSON object is returned.
- currentHostobject
A global app, with module-specific app logic, can be deployed on various Freshworks products.
currentHost contains information pertaining to the Freshworks product on which the app is currently running. - eventstring
Identifier of the app set-up event.
Possible values: onAppInstall, onAppUninstall, afterAppUpdate.
- iparamsobject
Installation parameters specified as a JSON object of <parameter name>: <parameter value> pairs.
- regionstring
Region where the Freshworks product account is deployed.
Possible values: US, EUN, EUC, AUS, IND, and MEC.
- timestampnumber
Timestamp of when the app set-up event occurs, specified in the epoch format.
Configure onAppInstall
When an app user clicks the Install button corresponding to the app, the onAppInstall event is triggered. For app installation to reach completion, in the callback function definition, use the renderData() method without any arguments. To disallow app installation if a mandatory action fails, use an error object as the argument - renderData({error-object}).
error-object attribute
- messagestringRequired
Message indicating why the mandatory action failed. Should not exceed 60 characters.
For example,
renderData({message: "Installation failed due to network error."});
To configure the onAppInstall event:
Subscribe to the onAppInstall event by using the following sample manifest.json content:
manifest.json"modules": { "common": { "events": { "onAppInstall": { "handler": "onAppInstallCallback" } } } }Define the corresponding callback that allows completion of installation by using the following sample server.js content:
server.jsexports = { onAppInstallCallback: function(payload) { console.log("Logging arguments from onAppInstallevent: " + JSON.stringify(payload)); // If the setup is successful renderData(); } }Define the corresponding callback that disallows installation if a mandatory action fails, by using the following sample server.js content:
server.jsexports = { onAppInstallCallback: function(payload) { console.log("Logging arguments from onAppInstallevent: " + JSON.stringify(payload)); // If there is an error during the setup, see screenshot below renderData({message: "Invalid API Key"}); } }
Configure afterAppUpdate
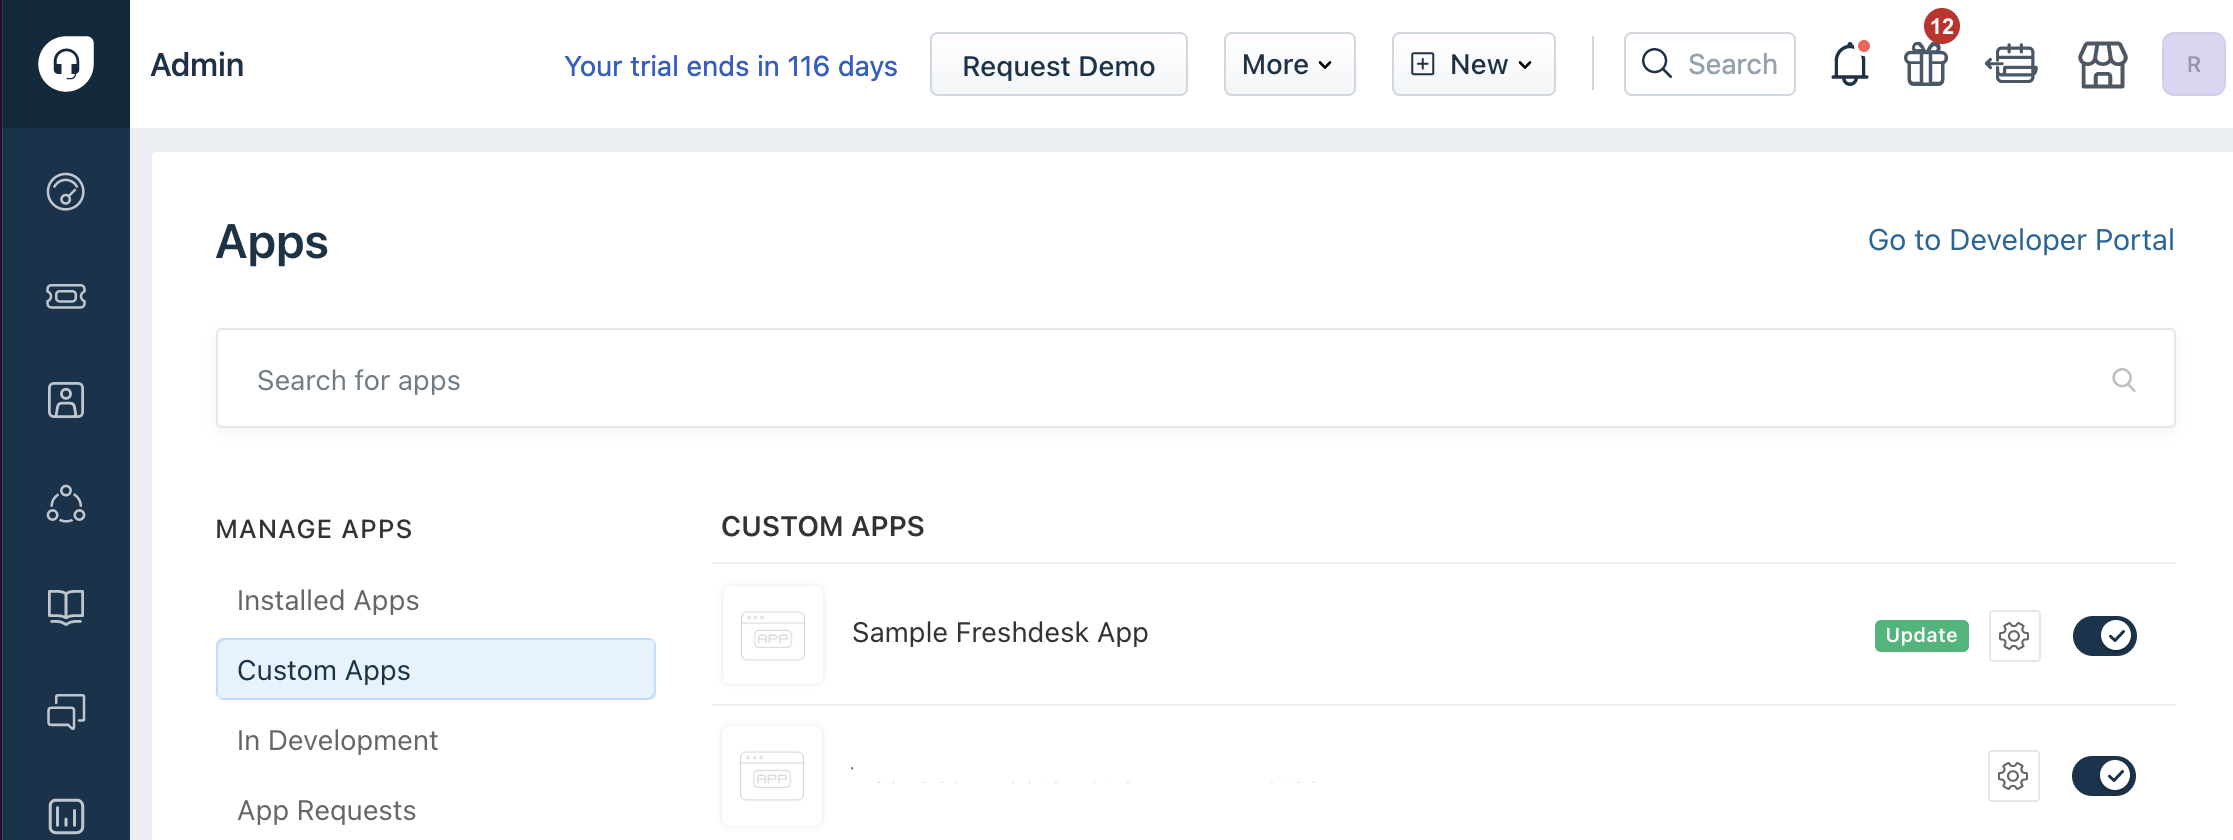
After you upload a new version of your app, in the Apps gallery > MANAGE APPS, an Update button is displayed next to the app (for admin users). If the admin clicks the button and updates the app, the new app version is installed and the afterAppUpdate event is triggered.
In your new version’s app files, you can:
- Subscribe to the event by configuring event and its corresponding callback function.
- Use the callback function to carry out certain app actions. To let an app user continue using the updated version, in the callback function definition, as part of the app logic, use the renderData() method without any arguments.
- If any mandatory action that must be carried out as part of the app set-up (update) fails, if the mandatory parameters that are required to carry out the app actions are unavailable, or in any such error scenarios, use the registered callback function to revert to the earlier installed app version. To perform this, use an error object as the argument of the renderData() method - renderData({error-object}).
 Updating custom apps
error-object attribute
- messagestringRequired
Message indicating why the mandatory action failed. Should not exceed 60 characters.
For example,
renderData({message: "Invalid API key. App reverted to previous version. Try updating again."});
To configure the afterAppUpdate event:
Subscribe to the afterAppUpdate event by using the following sample manifest.json content:
manifest.json"modules": { "common": { "events": { "afterAppUpdate": { "handler": "afterAppUpdateCallback" } } } }Define the corresponding callback that does not interrupt usage of the updated app, by using the following sample server.js content:
server.jsexports = { afterAppUpdateCallback: function(payload) { console.log("Logging arguments from afterAppUpdate event: " + JSON.stringify(payload)); // If the setup is successful renderData(); } }Define the corresponding callback that reverts the app to the earlier installed version if a mandatory action fails, by using the following sample server.js content:
server.jsexports = { afterAppUpdateCallback: function(payload) { console.log("Logging arguments from afterAppUpdate event: " + JSON.stringify(payload)); // To revert to earlier installed app version. renderData({message: "Updating to the latest version of the app failed due to network error."}); } }
Configure onAppUninstall
When an app user clicks the Uninstall button corresponding to the app, the onAppUninstall event is triggered. For app uninstallation to reach completion, in the callback function definition, use the renderData() method without any arguments. To disallow app uninstallation if a mandatory action fails, use an error object as the argument - renderData({error-object}).
error-object attribute
- messagestringRequired
Message indicating why the mandatory action failed. Should not exceed 60 characters.
For example,
renderData({message: "Uninstallation failed due to network error."});
To configure the onAppUninstall event:
Subscribe to the onAppUninstall event by using the following sample manifest.json content:
manifest.json"modules": { "common": { "events": { "onAppUninstall": { "handler": "onAppUninstallCallback" } } } }Define the corresponding callback that allows completion of uninstallation, by using the following sample server.js content:
server.jsexports = { onAppUninstallCallback: function(payload) { console.log("Logging arguments from onAppUninstallevent: " + JSON.stringify(payload)); // If all mandatory uninstallation actions are successful renderData(); } }Define the corresponding callback that disallows uninstallation if a mandatory action fails, by using the following sample server.js content:
server.jsexports = { onAppUninstallCallback: function(payload) { console.log("Logging arguments from onAppUninstallevent: " + JSON.stringify(payload)); // If there is an error during uninstallation renderData({message: "Uninstallation failed due to network error"}); } }
Test
- To test a serverless app, use the latest version of Chrome.
- As testing is only a simulation of events, actual data or record associated with the event is not created in the back-end. To create actual data and then test your event, publish your app as a custom app and test the events manually.
- The <app's root directory>/server/test_data folder stores the test payloads used to test the events. If you modify the app manifest to add more modules and register more events, the corresponding event payloads are updated to the test_data folder, when the event is simulated as part of event testing.
From the command line, navigate to the directory that contains the app related files and run the fdk run command. The FDK starts the local test server. The test URLs to access the product UI, the App Settings page (or Custom installation page), and the URL to the serverless events simulation page are displayed.
Navigate to the system settings page at http://localhost:10001/system_settings. All modules configured in the App manifest are listed.
In the system settings page,
Select the modules for which you want to test the app logic. The Enter account URL section is displayed, with a prompt to enter the account URLs for all selected modules.
The Organization Domain field is displayed, with a prompt to enter the organization domain value for the account.
In the Organization Domain field, enter the domain value from the organization URL for the account. For example, if your organization URL is https://sample.freshdesk.com, the value in Organization Domain should be sample.freshdesk.com.
Note:The org_domain attribute attribute will only be retirevied as a part of currentHost object in app installation page and app settings page.
The Enter account URL section is displayed, with a prompt to enter the account URLs for all selected modules.
In the Enter account URL section, enter valid account URL(s) for the product(s) to which the selected modules belong. During app testing, this URL plays the role of the currentHost.
Based on the currentHost, the currentHost.subscribed_modules, currentHost.org_domain and currentHost.endpoint_urls are determined. In the response payload of the currentHost data method and in the serverless events’ payloads, the determined values are used.
If your app manifest includes the service_ticket or service_user modules and you select either of them, the Select Freshservice Product Type section will appear. In this section, choose the appropriate product type: ITSM or MSP.
If your app manifest includes modules supported by Freshdesk or Freshdesk Omni, and you select either one, the Select Product Type section will appear. In this section, choose the appropriate product type: DEFAULT or UNIFIED_OMNI.
Note:The Select Product Type section is displayed only if the app manifest includes at least one of the following modules and you have selected it:
- service_ticket module
- service_user module
- Modules supported by Freshdesk and Freshdesk Omni
If you have defined the app scope as both service_workspace and account or service_workspace alone in your app manifest, then the workspace_id field appears. Enter the workspace ID of the client (workspace) for which you want to install the app. To find the workspace_id:Navigate to the particular workspace in the workspace section and locate the URL. For example, if the URL is https://sample.freshservice.com/a/admin/workspaces/2/edit,then the workspace_id is 2.
Notes:- The currentHost payload returns the workspace ID.
- If the installation scope in the app manifest is set to both account and service_workspace, the workspace_id field is optional on the system settings page.
- If the installation scope in the app manifest is set to service_workspace only, the workspace_id field is mandatory on the system settings page.
- If the installation scope in the app manifest is set to account only, the workspace_id field is not shown on the system settings page.
Click Continue.
If you have configured installation parameters for the app, the App Settings page is displayed at http://localhost:10001/custom_configs. Enter appropriate values for the installation parameters and click Install.
Note: If you have not configured any installation parameters, a page is displayed with information on the configured system settings. A message stating that the app does not have an installation page is displayed.
Navigate to http://localhost:10001/web/test to test the serverless events that the app uses. All modules that you select in the system settings page, for which serverless events are registered in the app manifest, are listed in the Select module drop-down.
Note:The payloads of all serverless events that are registered in the app manifest are populated in the server/test_data folder. During the actual runtime, the payloads that are passed to the serverless event contain the currentHost attribute. In the local simulation, the payloads in server/test_data do not contain this attribute. During testing, the modules and account URLs entered in the system settings page are passed as the currentHost data.
From the Select module drop-down, select Commom. The Select an event drop-down is displayed and it lists all the events configured (in the app manifest) for the common module.
Note: To test app setup events, select onAppInstall, afterAppUpdate, or onAppUninstall.
From the Select an event drop-down, select the event you want to test. The payload for the event is populated on the page.
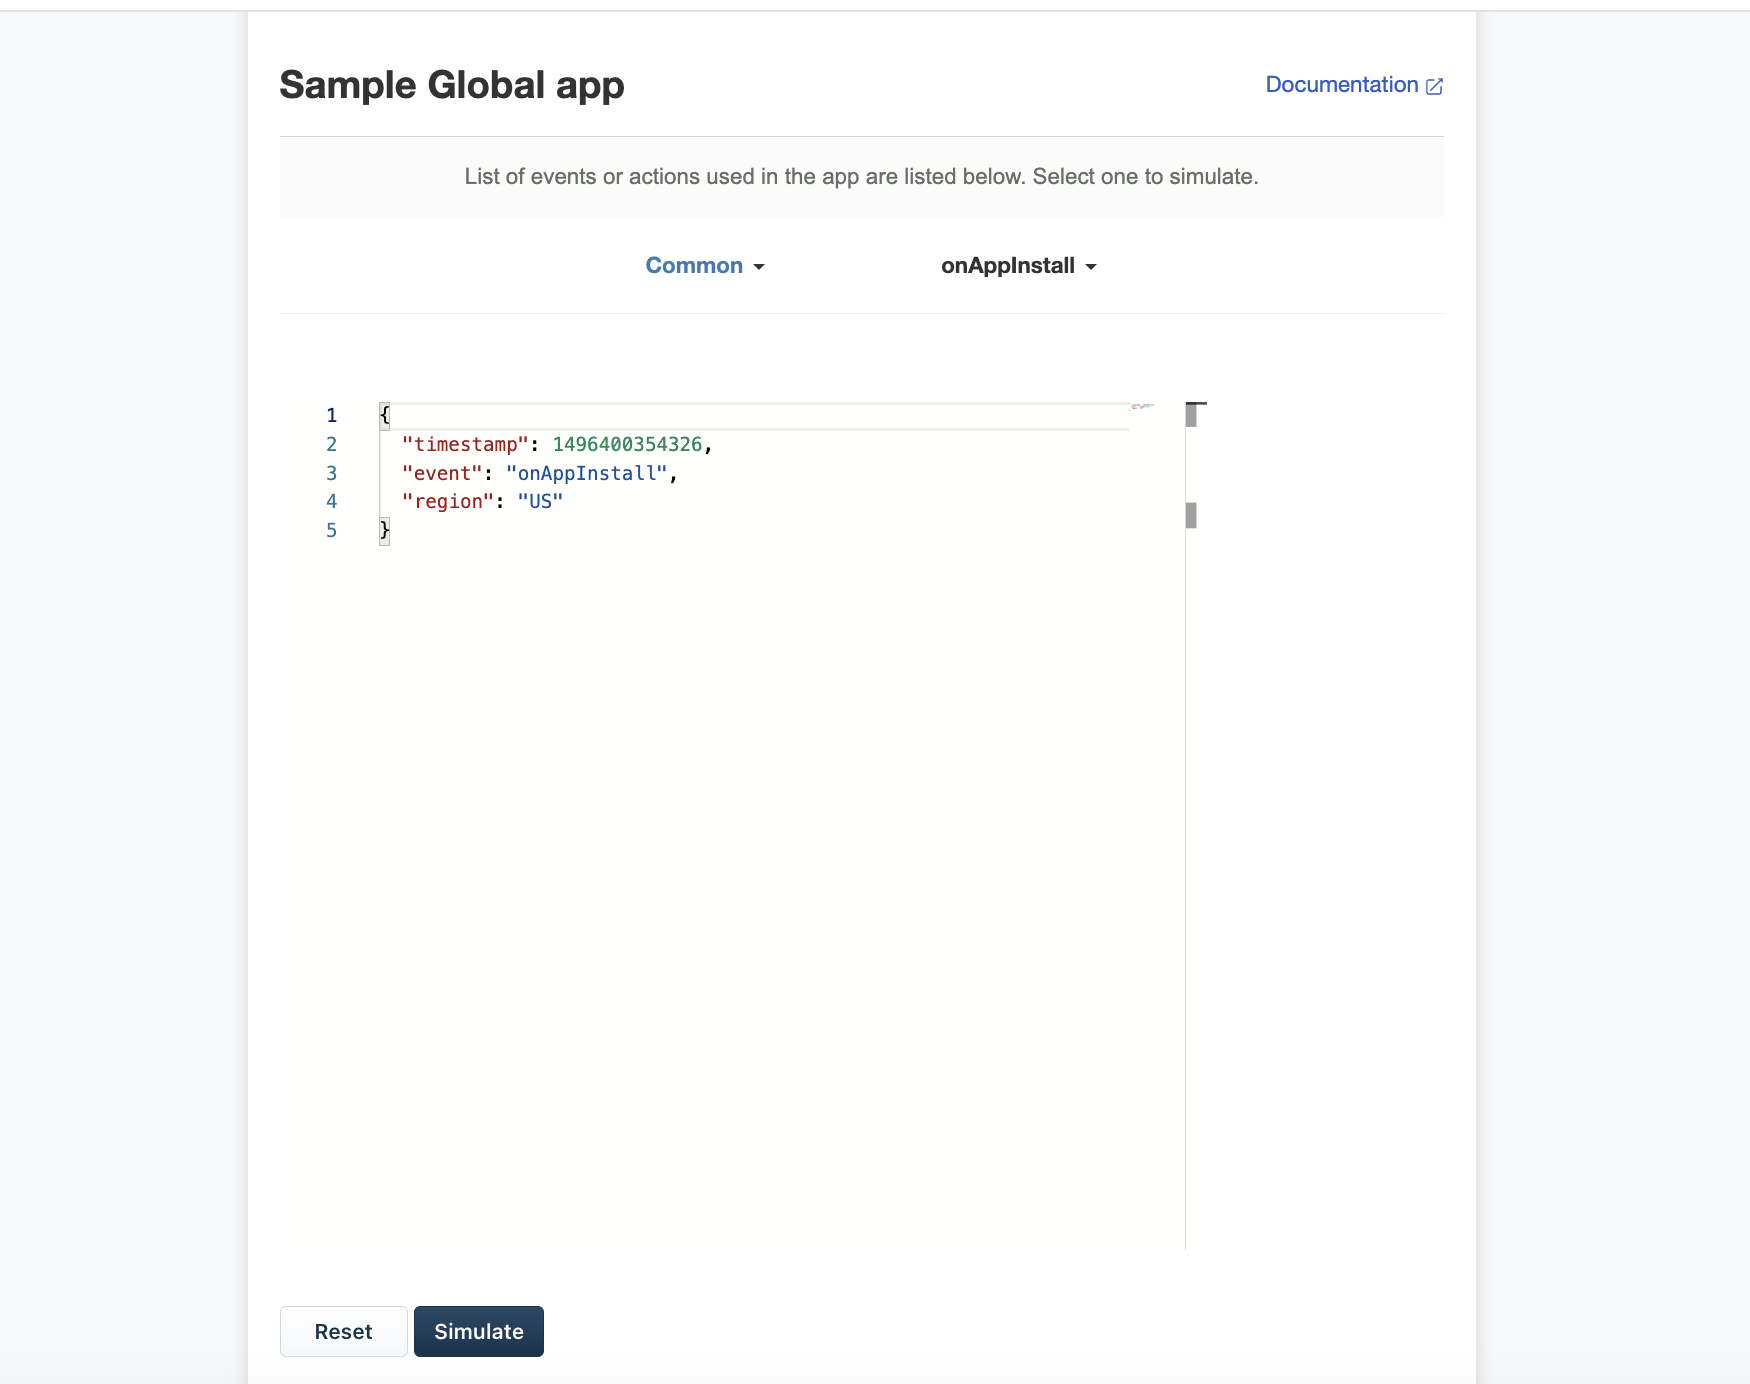 Event simulation page
Click Simulate. If the event is simulated successfully, the Simulate button’s display name changes to Success. The event payload is added to the <app's root directory>/server/test_data folder.
To test more events, select another appropriate module and event and click Simulate. If the event simulation fails because of invalid payload data, the Simulate button’s display name changes to Failed. Modify the payload appropriately and click Simulate.