This section has many theory lessons, of course, but it will help you have firm foundations.
Why
It is essential to understand why we are talking about Authorization in the first place. Our app creates an issue on a GitHub repository. But some critical questions need to be answered.
- How would GitHub trust the app and let it create an issue on someone’s repository?
- How would an app prove itself that it is Authorized to create an issue on someone’s repository?
The answer to both of these questions is a variant of one widely agreed-upon standard GitHub and Freshworks should adhere to. It describes a Framework for both parties.
For a Developer
All the hefty work needed for the Authorization to take place is handled by GitHub and Freshworks themselves. As developers, our focus is on the use-case; all we need is to configure a few things for both GitHub and Freshworks.
GitHub’s point of view
From the lens of GitHub, your app is a GitHub OAuth App. So, as a developer, you need to configure to let GitHub know that the app will be authorized to access resources that the user is privileged to access.
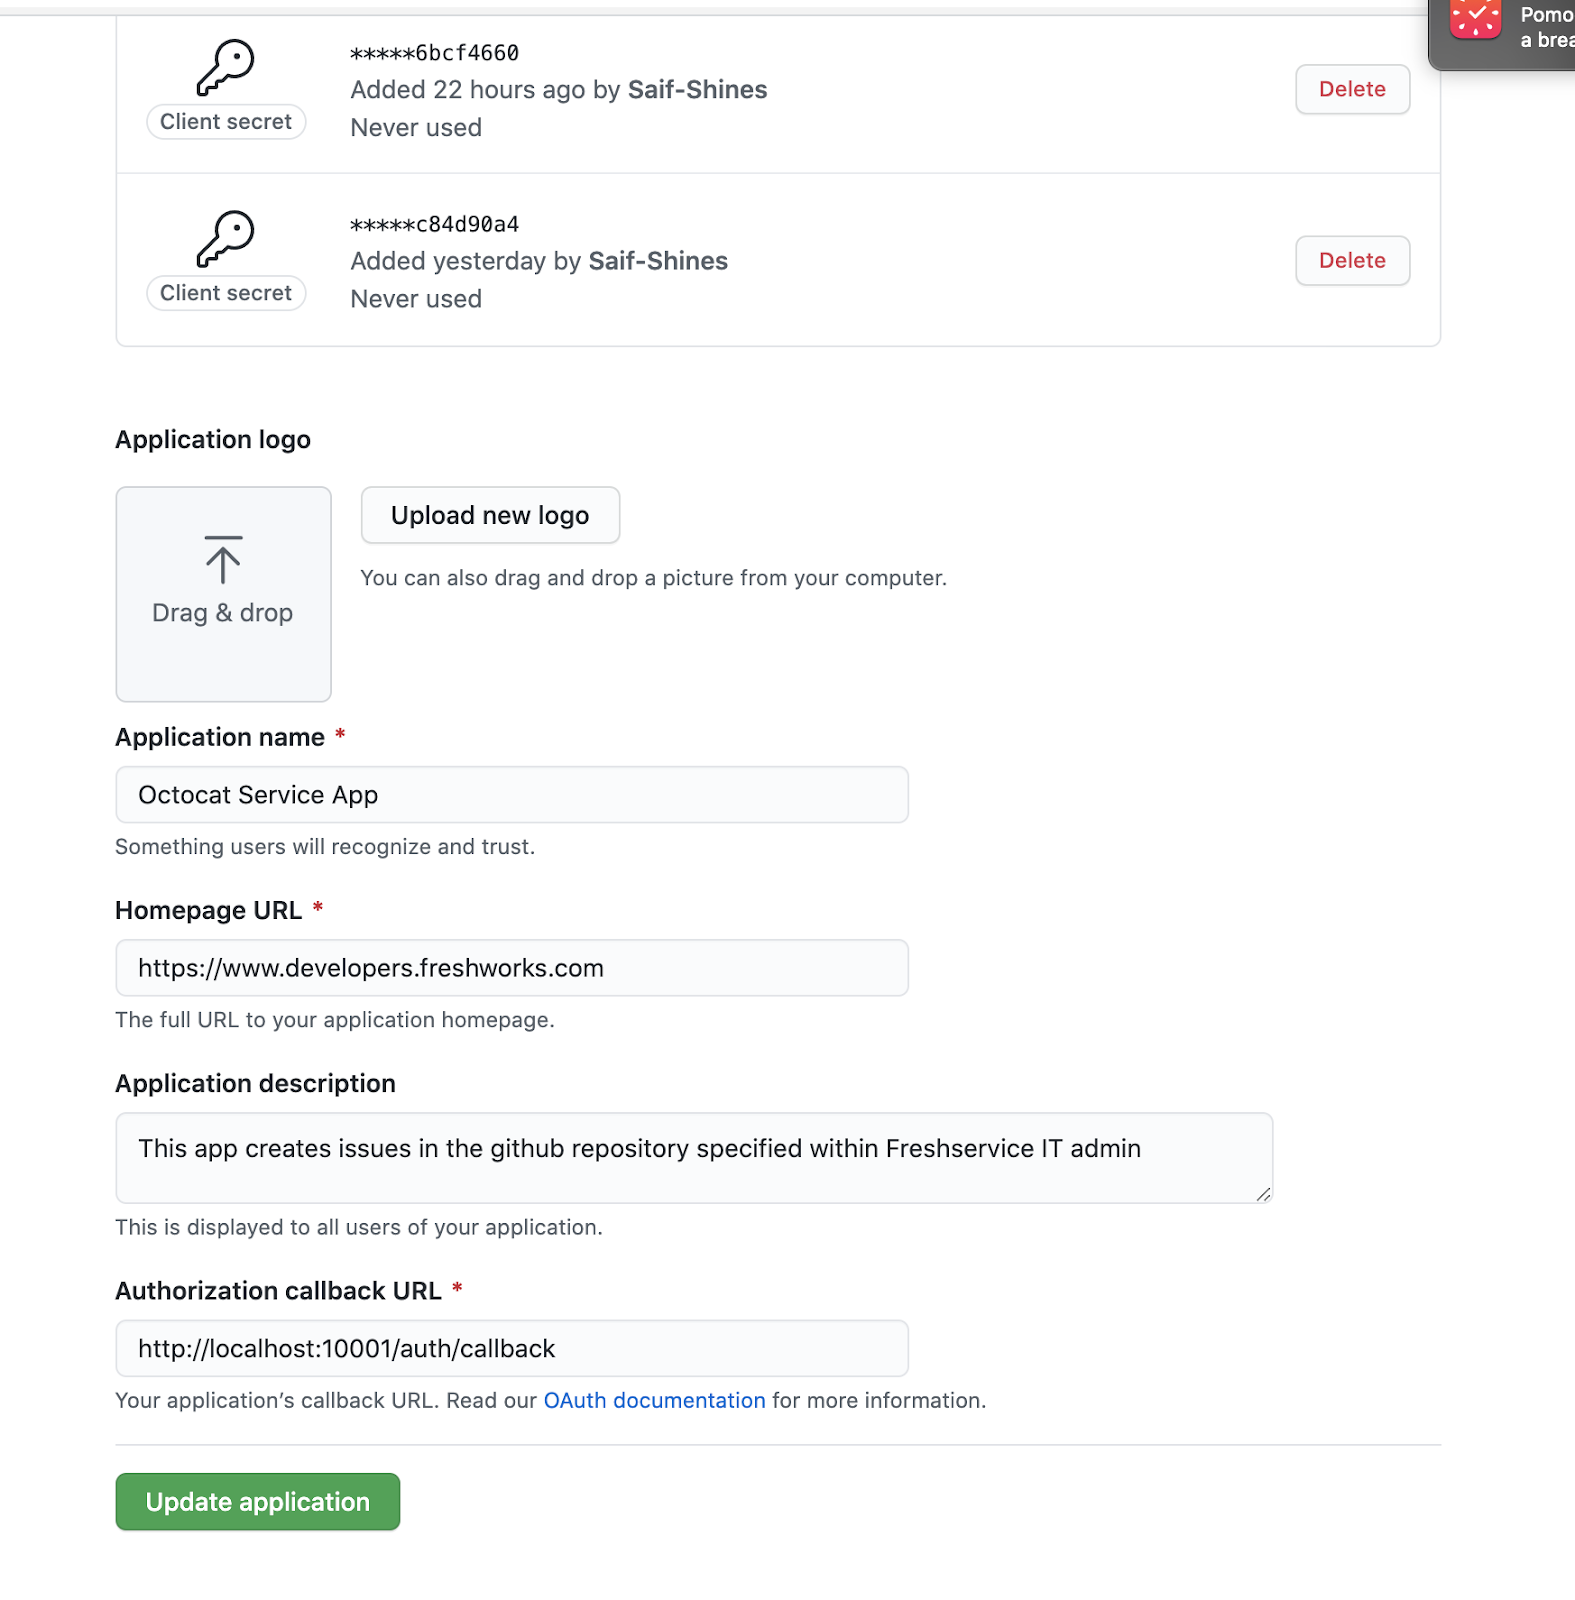
- You will need to create a GitHub OAuth App. This page expects an Authorization callback URL. It’s usually - http://localhost:10001/auth/callback for local simulation purposes. See Freshservice OAuth feature prerequisites section.
- Once created, the Github Developer Settings page will display the apps you’ve configured. What is crucial for us here is the Client ID and Client Secret that GitHub generates.
Freshworks point of view
Since GitHub already adheres to the OAuth 2.0 RFC6749 standard, it gives Freshworks App platform a way to make Authorization easy for the developer.
Create an oauth_config.json file in the config directory.
1{
2  "client_id": "123abcxxxxxxxx456def",
3  "client_secret": "123abcxxxxxxxx456def",
4  "authorize_url": "https://github.com/login/oauth/authorize",
5  "token_url": "https://github.com/login/oauth/access_token",
6  "options": {
7    "scope": "repo"
8  },
9  "token_type": "account"
10}- This file contains all the information needed for the platform to perform OAuth 2.0 on behalf of your app.
- Fill the client_id and client_secret with values obtained from GitHub when configuring the OAuth app.
- The authorize_url and token_url are dependent on vendors. In this case, GitHub. So we will need to rely on relevant documentation to capture those details.
- The options attribute allows the developer to add any more details that 3rd party Vendor like GitHub expects. In our case, GitHub expects the scope. Also, dependent on the vendor’s documentation.
- The token_type attribute helps the app platform to determine the access level of the app. See Freshservice documentation.
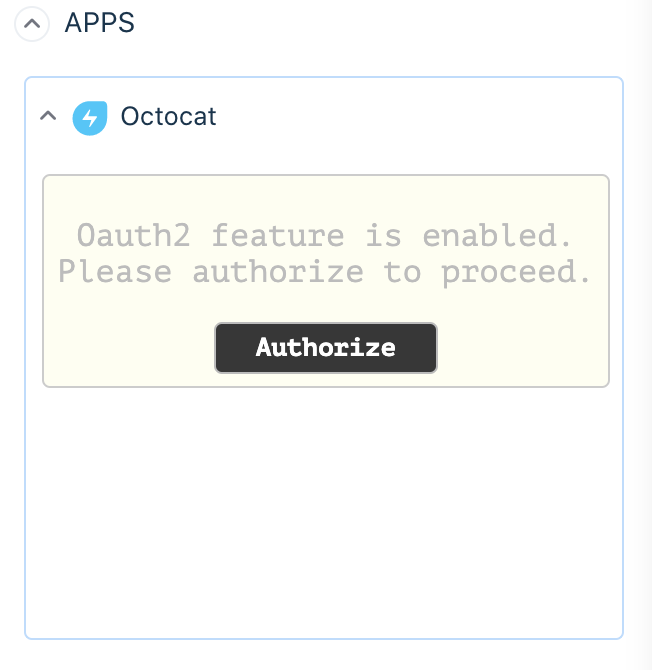
Now when you locally simulate the app, you will see the following screen. App platform automatically recognizes your app needs an access token to operate as expected, so the App Platform requests the user to Authorize with Github.
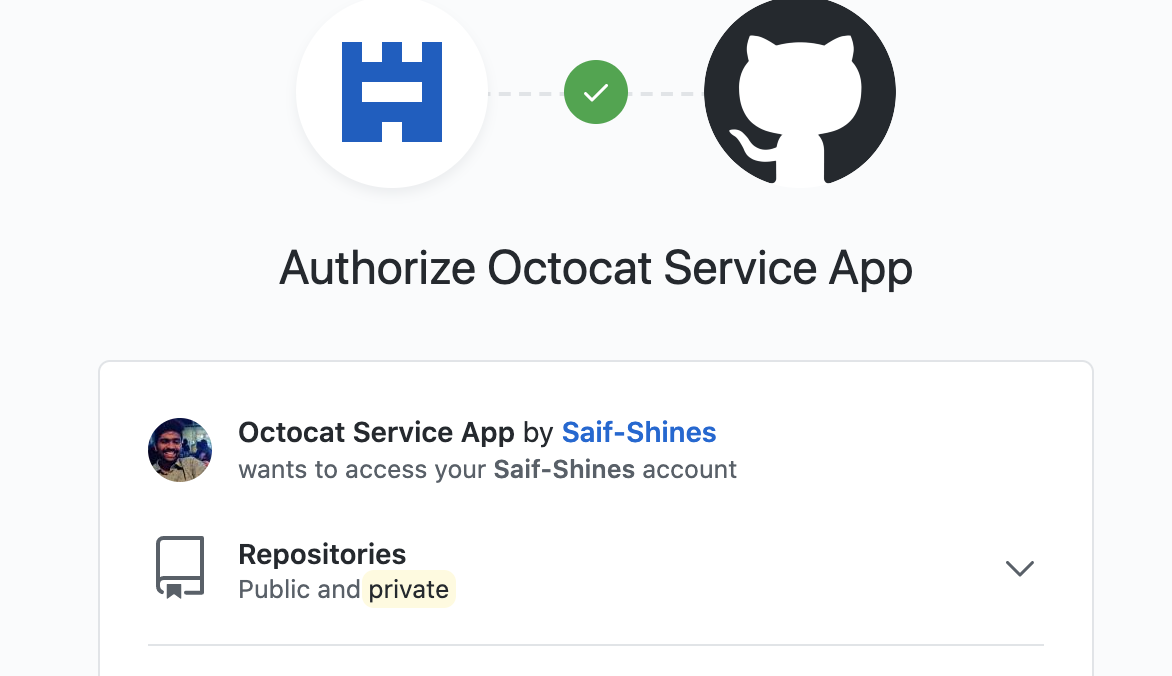
It displays the list of accounts to which the user permits the app to access resources. For this tutorial, we will limit access to your own GitHub personal accounts.
Pro Tip:There will be a .fdk/ directory created in your current working directory. The .localstore file would contain an access_token that your app will use to make API calls.